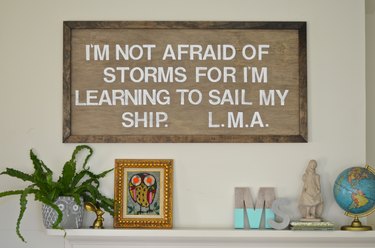
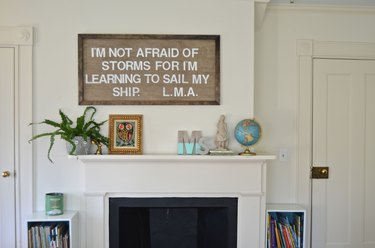
Graphic art can be a great way to bring personality into your décor. With a few dollars in supplies and a few hours of time, you can DIY this reclaimed-looking wall art stenciled with a favorite inspirational quote or passage.
Things You'll Need
Presanded 24-by-48-inch board (1/2-inch thick)
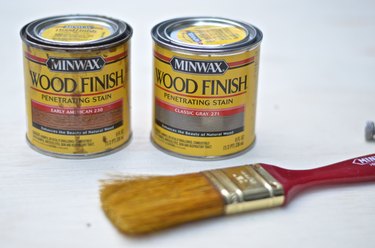
Wood stain for board (Colors shown is custom mix of 1 part Minwax Classic Gray to 3 parts Early American)
1-by-2 inch pine board (6 feet)
Hand saw or miter saw
Wood stain for frame (Color show is Minwax Jacobean)
1-inch foam brush for stain
Rags
Plastic stencils (Helvetica 3-inch used for this piece)
Pencil
1 1/2 painters tape
Tape measure
Detail paint brush
White acrylic paint
Wood glue
Eight 1/2-inch #6 screws
Drill
Optional: hanging hardware (screws and picture wire)
Step 1: Stain
With the foam brush, apply stain to the presanded board and immediately wipe off with the rag. Allow to dry overnight.
Video of the Day
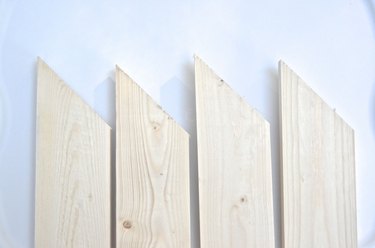
Step 2: Saw Frame
Cut the 1-by-2 into four pieces with mitered 45-degree ends to use as a frame. Two pieces should measure 24 inches at the longest edge. Two pieces should measure 48 inches at the longest edge. These will be attached to the stenciled board last.
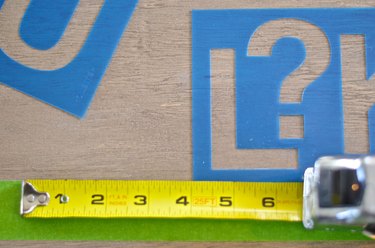
Step 3: Measure
It is important to determine the stencil spacing in order to plan where the quote will fit best on the board. Allow appropriate space between letters, between words, and between lines. For the 3-inch letters shown, the lines are spaced 1 1/2 inches apart, the words are spaced 1 1/2 inches apart and the letters are spaced approximately 1/4 inch apart.
Tip
Use 1 1/2 painters tape to mark off where your frame will go and to mark the straight edge between lines of text.
Step 4: Outline
With the pencil, trace each letter of the quotation using painters' tape as the guideline. Text can be centered or aligned to either side. This is subjective.
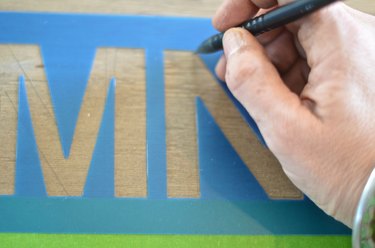

Step 5: Paint
Using the detail brush, carefully fill in each letter of the quotation with white acrylic paint.

Tip
If you add the tiniest bit of water to the acrylic paint, it makes it easier to work with.

Step 6: Attach Frame
Squirt a small line of wood glue onto each piece of the 1-by-2 frame and place the stenciled board on top. Be careful the mitered corners are aligned and be careful the frame lines up with the edge of the board. Screw the stenciled board onto the frame using at least two screws for each length.

Optional: to hang the stenciled piece on the wall, drill two screws on either side of the back and wrap picture wire between them.

This stenciled sign can be customized with different stencil fonts or even different paint colors, but the classic white lettering shown will never go out of style.
Video of the Day