Things You'll Need
3/4 yard quilted fabric (makes two clothespin bags)
12-by-14 inch cardboard
Double fold bias tape or quilt binding
Sewing machine
Thread
Straight pins
Scissors
Wooden clothes hanger
Pencil
Ballpoint pen
Fine tooth hand saw
1/4 sheet sandpaper
Stencils (optional)
Embroidery thread (optional)
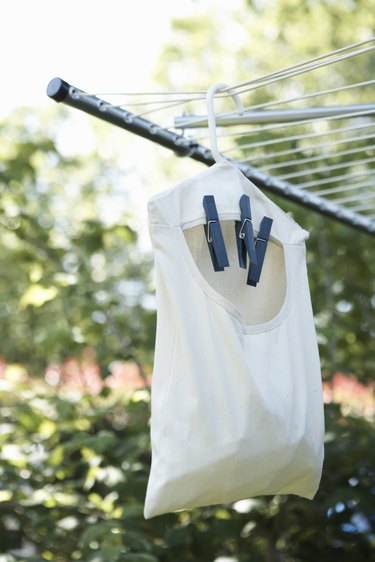
If you made the choice to save energy dollars and be kind to the earth – and your clothes – by using a clothesline instead of an electric dryer, be kind to yourself too. Make the job of hanging the wash to dry easier with a handmade clothespin bag that keeps your pins safe and organized right on the line. Create an old-fashioned clothespin bag with basic sewing skills and a few inexpensive supplies to enjoy the savings and the fresh air smell of clothing hung outside.
Step 1
Make a simple pattern for a clothespin bag. Cut a piece of cardboard to 12-by-14 inches. To make the opening part of the clothespin bag, mark the top of cardboard exactly in the center and make a mark 1 1/4 inches to the left and right of center. Make another mark from center top and go straight down 7 1/2 inches. Finish the opening shape by drawing curved lines from each of the marks to the right and left of center top, so you end up at the 7 1/2 inch mark. Adjust curved lines now so the widest portion of the opening is 6 inches.
Video of the Day
Step 2
Place pattern on doubled fabric, wrong side out, with bottom section on fold line of fabric. Trace the clothespin bag pattern with ballpoint pen or pencil, whichever works better with the fabric you've chosen. Cut fabric along both sides. Open the doubled piece of fabric and cut out the opening piece.
Step 3
Sew double fold bias tape or quilt binding around neck of clothespin bag, close to inside edge of the trim.
Step 4
Sew a zigzag stitch 1/4 inch from opposite edge of clothespin bag opening, with the wrong side of the fabric out. Turn this stitching up another 1/4 to 1/2 inch and zigzag stitch on top of this seam to finish the inside portion of the neck opening.
Step 5
Pin fabric at sides and top edges with right sides together. Sew in a straight stitch 1/2 inch from the edges.
Step 6
Trim corner edges close to seam, which will give a crisper finish to the corners. Turn the clothespin bag right side out, using your finger or the eraser edge of a pencil to accentuate the corners.
Step 7
Lay wooden clothes hanger on top of completed clothespin bag with the hanger hook in center of the opening. Mark ends of hanger with the pencil no more than 1/2 inch inside the edges of the clothespin bag. Use fine tooth hand saw to cut hanger along marked pencil lines. Sand edges smooth with a small piece of sandpaper. Insert into bag by tilting hanger slightly sideways then place into position.
Step 8
Use traditional muslin as an alternative to a quilted fabric clothespin bag. Cut and sew a double layer of the fabric to make it more durable. Decorate the plain muslin with stencils after sewing bias tape or quilt binding to neck opening. Follow the pencil lines of stenciling in a straight stitch with embroidery thread.
Tip
Clothespin bags are quick and inexpensive to make and sell very well at craft fairs and church bazaars. Use fabric and trim remnants to make a fun and functional clothespin bag for budget-conscious friends and family.
Video of the Day