There are multiple ways to add additional storage to your desktop or laptop computer. Depending on your level of computer expertise, you may want to opt for a simpler solution such as a USB flash drive. However, if you are an advanced computer user you may want to consider using an external hard drive or an internal hard drive. Before you begin, try deleting unused applications, games, music, movies and other files from your hard drive as this may provide you with enough additional space to avoid undertaking an expansion.
Flash Drive
Video of the Day
Step 1
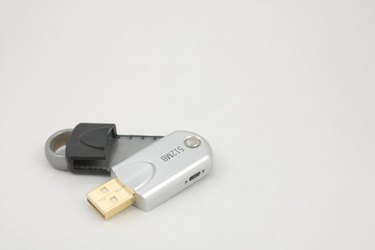
Purchase a flash drive with the correct amount of additional storage space for your computing needs.
Video of the Day
Step 2
Insert the USB flash drive into your computer's USB port.
Step 3
Wait for the computer to recognize the USB flash drive.
Step 4
If your are using Microsoft Windows, go to "My Computer."
Step 5
You will see the flash drive listed as a separate device, and you may now use that path to save files.
External Hard Drive
Step 1
Purchase an external hard drive with the correct amount of storage space.
Step 2
Plug in the external hard drive, connect it to your computer's USB port and turn on the hard drive.
Step 3
Allow Windows to recognize the device. If prompted to format the hard drive, click "yes."
Step 4
Open My Computer and you will see the external hard drive listed as a device.
Step 5
Use the new external hard drive just like any other hard drive, but be sure to keep it turned on and plugged in when you want to use it.
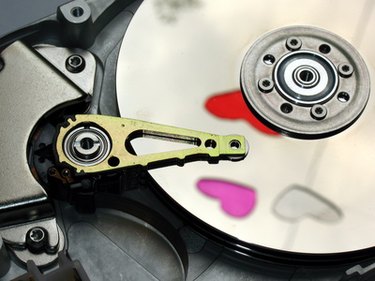
Internal Hard Drive
Step 1
Purchase an internal hard drive that is compatible with your computer. In most cases, either a SATA or an IDE hard drive will work.
Step 2
If using an IDE hard drive, set the jumpers on the drive to the manufacturer's recommended setting.
Step 3
Turn off the computer off, unplug it and remove the computer's cover. Determine where you would like to place the hard drive inside the computer.
Step 4
Attach the power cable and the SATA or IDE cable to the drive, and make sure that the SATA or IDE cable is connected to the computer motherboard or controller. For now, do not screw the drive into an open bay or replace the computer cover, as you may need to make some changes later.
Step 5
Turn on your computer and enter system BIOS. Make sure that the system is recognizing the drive by checking in BIOS settings. If your computer is not recognizing the drive, try changing your jumper settings, your BIOS setting or refer to the manufacturer's installation instructions.
Step 6
Restart the computer and allow Windows to load. Install any hardware drivers as instructed by the hard drive manufacturer. Make sure that Windows recognizes your new drive.
Step 7
Once you make sure that your hard drive is working, turn off the computer, unplug it and mount the hard drive in an open bay inside the computer. Use the screws provided by the manufacturer, replace your computer cover and use your new hard drive.