The coax input on the back of a TV enables an indoor or outdoor antenna to provide free television broadcast signals. A broken input connector must be repaired if the antenna is to be used. Supplies from an electronics store and a hardware shop are needed, as are some tools most households have on hand. Adult supervision is a must if someone who is underage is involved in the repair, since a soldering iron will be used
Step 1
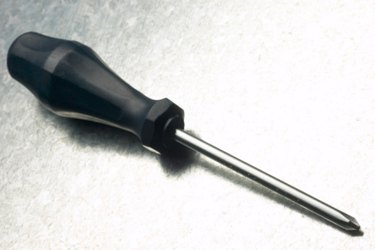
Place a bath towel on a table. Unplug the TV. Remove all cables from the back of the TV. Remove the screws from the back of the TV, using the Phillips screwdriver--the screws will be at the four corners and the left and right side. Remove any screws from the top and bottom edge with either the Phillips jeweler's screwdriver or the Torx screwdriver, depending on whether there are screws there and if so, what type of screws they are.
Video of the Day
Step 2
Place the TV face down on the bath towel. Carefully pull the back plate off the TV, taking care to note where the coax connector box is, relative to the broken coax connector on the back of the TV. Place the back plate aside for reassembly later.
Step 3
Put on the insulated gloves. Remove the metal shield from the side of the coax connector box with your fingers--the shield is held in place by a clip that can be wiggled to force it loose.
Step 4
Hold the replacement coax connector in one hand with the two attached tabs facing up. Hold the needle-nosed pliers in the other hand. Snip off the two tabs with the needle-nosed pliers. File the snipped ends smooth with the file. Blow off the replacement coax connector with compressed air.
Step 5
Heat up the soldering iron for five minutes. Wind one end of the copper wire around the nub left over from the tab that is at the center of the replacement coax connector.
Step 6
Crimp the copper wire to the nub with the jaws of the needle-nosed pliers. Apply a drop of solder to the nub to secure it to the copper wire. Let the solder cool for two minutes.
Step 7
Unscrew the broken coax connector off the box with your fingers. Cut off the wire attached to the bottom of the broken coax connector with the needle-nosed pliers. Dispose of the broken coax connector in the trash.
Step 8
Thread the free end of the copper wire into the hole now vacated on the box. Crimp the sides of the hole where the broken coax connector was with the jaws of the needle-nosed pliers.
Step 9
Place the bottom of the replacement coax connector over the hole and onto the box. Secure the replacement coax connector in place temporarily, using a mini C-clamp. Solder the bottom of the replacement coax connector to the box. Let the solder cool for six minutes. Remove the mini C-clamp.
Step 10
Locate the tab directly under the hole on the side of the box that has two horizontally screws in it. Solder the free end of the copper wire to the screw on the left side. Let the solder cool for two minutes before proceeding. Unplug the soldering iron.
Step 11
Place the metal shield back onto the side of the box. Push the metal shield against the box with your fingers until it clicks into place.
Step 12
Place the back cover back onto the TV. Reattach the screws. Stand the TV back up. Reattach the cables. Remove the insulated gloves.
Video of the Day