Just like English letters, Hebrew is not font-specific in Microsoft Word. Most fonts, including Calibri, Arial and Times New Roman, can depict Hebrew letters, so there is no need to install a new font.
In order to use Hebrew characters and to type from right to left, you do need to add the Hebrew language keyboard layout to Windows 8.1 and the Hebrew language to Word. Alternatively, if you need to insert only a few Hebrew characters, you can use the Word Symbol window.
Video of the Day
Video of the Day
Using a Hebrew Keyboard Layout
Step 1
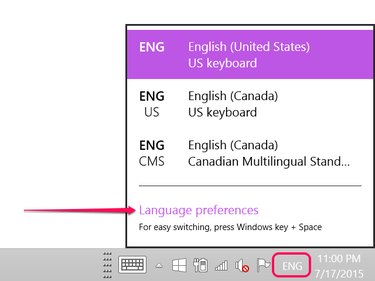
Click the current Keyboard Language icon, like ENG, in the Windows Task Bar. Click the Language Preferences option.
Step 2

Click the Add Language button to open Control Panel's Language settings.
Step 3

Scroll down to the H section and click the Hebrew icon. Click Add.
Step 4
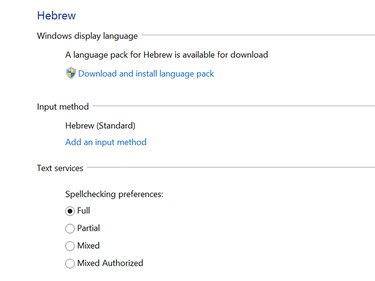
To use Spellcheck for Hebrew, click the Download and Install Language Pack and select Full under Spellchecking Preferences.
Step 5
Open a Web browser window and go to Microsoft's Hebrew Keyboard Layout to see a keyboard map. Alternatively, connect a Hebrew keyboard to your computer.
Configuring Word for Hebrew Text
Step 1
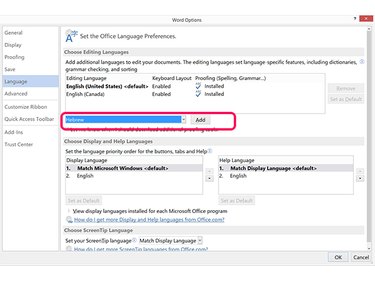
Click the File menu in Word and select Options. Click Language and then the Add Additional Editing Languages menu. Scroll down the list, select Hebrew and then click Add.
Step 2
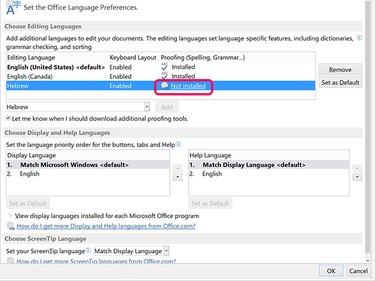
Click the Not Installed link beside the enabled Hebrew language to enable Hebrew Spellcheck and Grammar in Word.
Step 3
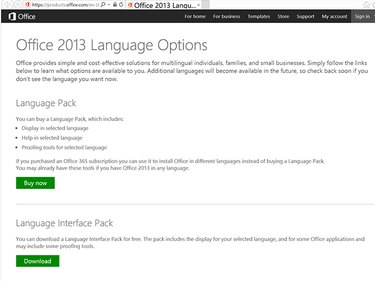
Click the Download button in the Language Interface Pack section if it appears. The availability of a free language pack may depend on which Microsoft Office 2013 product or subscription you have. Alternatively, click the Buy Now button to purchase a Language Pack that supports Hebrew spelling and grammar.
Step 4
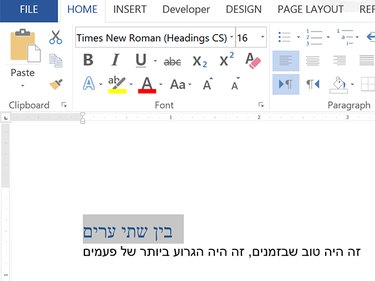
Open a Word document. Click the Keyboard Language icon in the Windows Task Bar and select Hebrew. Type some text in Hebrew. Note that Word enters the text from right to left. Change the Font, Font Style, Font Size or Font Color just as you would any English text.
(The Hebrew entered in the illustration here is a translation from Google Translate of "A Tale of Two Cities" and "It was the best of times and the worst of times.")
Step 5
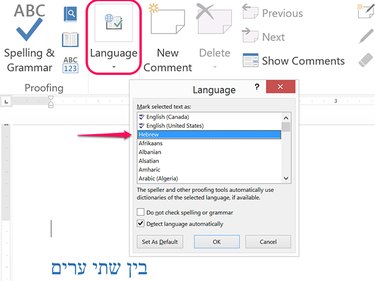
Click the Review tab when you are finished typing and click the Language icon. Click the Language option and then click Set Proofing Language. Select Hebrew and click OK. Click Spelling & Grammar in the Review ribbon to check the document for Hebrew spelling and grammar.
Using Hebrew Symbols
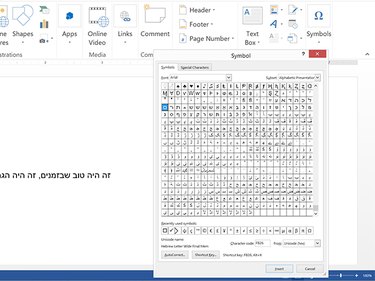
Launch Word and place the cursor where you want a Hebrew character to appear in a document. Click the Insert tab and then click the Symbols icon. Click Symbol and then More Symbols to open the Symbol window. Select a font like Arial or Times New Roman and then scroll down to the Hebrew group of symbols. Click a symbol and then click the Insert button to place that symbol where the cursor is located in the Word document.