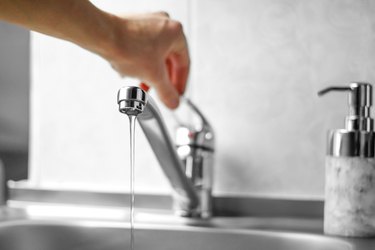
The bonnet of a faucet is the piece located between the handle and the body of the faucet, so-called because it sits atop the faucet body like a bonnet or hat. To access certain parts of the faucet, like the o-rings and the cartridge, you will need to remove the bonnet. If you are performing a repair on your faucet, this may become necessary.
Important Considerations Before You Begin
Video of the Day
Before you attempt to remove the bonnet on your Kohler faucet, you should consider whether you are comfortable with the plumbing involved. Though removal of the bonnet is fairly straightforward, you'll need to know how to put the faucet back together and how to locate the part you're hoping to fix. If you are at all unsure about what might be involved, it's best to consult a professional plumber.
Video of the Day
Before you get started, you should turn off the water supply to the sink you'll be repairing. Test the faucet once you think the water is shut off to ensure you've identified the proper water line. Kohler explains that you should then turn the handle to "on" to relieve pressure.
In addition, be sure that there are not any power tools requiring electrical outlets near your sink while you work. Keeping live electricity away from water is critical. Know where wires are in your walls before you attempt to cut through sheetrock to access plumbing too.
Removing a Kohler Bonnet
Identify the site on your faucet's handle where it is attached to the faucet body. If you have a single lever faucet, this will likely be on the back of the handle. In most cases, the handle is attached via a screw. Kohler explains you will then remove the handle via this screw with an Allen wrench, screwdriver or hex wrench, depending on the faucet model you have. Set the screw aside in a safe place.
If you have a faucet with a rotary handle (a handle that turns from side to side), there may be a cap covering the screw that you'll need to locate. You can insert the edge of a flathead screwdriver under the cap and gently pry it up. Then, you should be able to find the screw that holds the handle on the faucet and remove it.
Once you have removed the screw, you will have access to the bonnet on your Kohler faucet. To remove it, use a glove with grips or a jar remover to turn the piece counterclockwise. This will enable you to screw it off the top of the faucet. Once it has been removed, set the bonnet aside so you can proceed with repairs to the o-ring or cartridge.
Putting the Bonnet Back On
Once you've completed the necessary repairs on your faucet, you should put the bonnet back on right away to avoid loss or damage to the parts you've removed. Reinstallation should be straightforward, provided your repairs were done correctly. Replace the screw that had held the bonnet and handle on, and then restore water to the line.