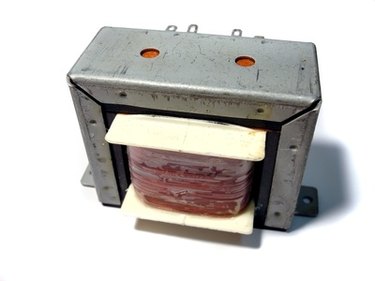
Low-voltage recessed can lights use step-down transformers to convert high-voltage electricity to a low-voltage power supply. A step-down transformer contains two sets of wire coils. The coil that connects to the high-voltage power source contains more windings than the low-voltage coil. The coil's ratio determines the output voltage. Replacement transformers must match the recessed can light's old transformer's input and output voltage ratings. Exposing a low-voltage light bulb to high voltage causes its filament to burn up.
Step 1
Turn the electricity to the recessed can light off at the circuit breaker box. Turn the circuit breaker with the "Lighting" label or the circuit breaker that controls the room the lights illuminate off. Lights in the kitchen often connect to the "Kitchen" circuit and hallway and niche lights often connect to the "Lighting" circuit.
Video of the Day
Step 2
Access the can light's electrical box through the attic, if possible, or from under the ceiling. Transformer access from below the ceiling requires removing the trim cover and light bulb and unscrewing the can from its mounting bracket with the correct screwdriver. Trim covers pull straight down and unsnap from the housing. The can screws to a mounting bracket near the bottom, often with a 1/4-inch hex-head screw. After unscrewing the can, push the can up into the ceiling then rotate the can until the electrical box faces the hole in the ceiling.
Step 3
Open the recessed light's electrical box with the correct screwdriver. Often a slotted or 1/4-inch hex-head screw holds the box's lid in place.
Step 4
Unscrew the wire nuts that hold the old transformer's wires to the wires that enter the electrical box. Separate each set of wires. Four wires enter the box, two high-voltage and two low-voltage. The two low-voltage wires travel to the light socket and the two high-voltage wires enter the electrical box from above the ceiling.
Step 5
Unscrew the transformer's retaining screws with the correct screwdriver, often a 1/4-inch hex-head screwdriver. Remove the old transformer from the electrical box.
Step 6
Verify that the electrical ratings on the new transformer match the old transformer's ratings. The label stuck to the top of each transformer lists the ratings and shows the wiring guide. Pay special attention to the primary and secondary voltage ratings.
Step 7
Note the new transformer's wiring guide. The wiring guide lists each wire, its insulation color and its function.
Step 8
Attach the new transformer to the recessed can light's electrical box with the screws that held the old transformer.
Step 9
Twist the transformer's high-voltage, labeled primary, wires to the high-voltage wires that enter the box from above the ceiling and secure them with wire nuts. Usually the high-voltage wires that enter the electrical box from above the ceiling use black and white insulation. Often the transformer uses black and white colored insulation for the high-voltage wires. If so, then connect black to black and white to white. Otherwise, connect the transformer wire labeled "Hot" to the black wire and the transformer wire labeled "Neutral" or "Common" to the white wire.
Step 10
Twist the transformer's low-voltage, labeled "Secondary," wires to the low-voltage wires that connect to the light socket and secure them with wire nuts. Many transformer manufacturers use blue and yellow insulation for the secondary wires. The wiring guide clearly labels the secondary wires, and wire colors do not mater.
Step 11
Replace the electrical box's lid. Screw the can to its mounting bracket, replace the light bulb and trim piece.
Video of the Day