Things You'll Need
Shoebox or cardboard box
Yellow paint
Paintbrush
Colored construction paper
Scissors
Glue
Masking tape
Ruler
Pencil
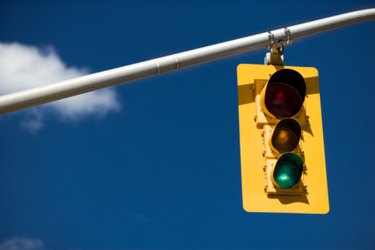
As children grow older, it becomes important for them to understand the rules of the road to help them stay safe near roads and busy streets. Teach them about crosswalks, signs and the meaning of traffic light signals so they know some basic street concepts. You can make the teaching process fun and creative for kids by using a cardboard traffic light activity. Through their own artwork, children can develop an appropriate comprehension of the three main traffic light colors and their meanings. It is best to do an activity like this with young children between the ages of 3 and 8.
Step 1
Find a small, rectangular cardboard box to use as the traffic light. Shoe boxes work well for this project.
Video of the Day
Step 2
Secure the lid of the box to the base using glue or simply by taping it together with masking tape. Avoid using clear, glossy tape like scotch tape because paint does not adhere very well to this type of paint.
Step 3
Dip a paintbrush into some bright yellow paint and paint all sides of the box, covering every inch. You can apply two to three coats of paint to make it thicker and brighter.
Step 4
Wait for the painted box to dry.
Step 5
Choose which side will be the front of the traffic light where the lights will go. Measure the length and width of the front side with a ruler.
Step 6
Draw a rectangle on a piece of black construction paper that is roughly an inch less than the dimensions that you measured in the previous step. Cut it out using scissors. This will be the face for the traffic light.
Step 7
Draw a small circle on a piece of red construction paper and cut it out using scissors. The size of the circle will depend on the size of your cardboard box. You should be able to fit three equally sized circles of construction paper on the face of the box.
Step 8
Apply three to four drops of glue and secure the red circle to the top of the face of the box. This represents the red "stop" traffic light.
Step 9
Draw two more small circles the same size as the red circle on a piece of yellow and green construction paper. Cut the circles out and apply three to four drops of glue to each one. Secure the yellow circle underneath the red circle in the center and the green circle underneath the yellow one at the bottom of the face of the box.
Step 10
Wait for the glue to dry and make any touch-ups where necessary.
Tip
You can add finer details such as silver nails to the corners using a silver marker.
Warning
Scissors are dangerous for very young children. Ensure that an adult accompanies a child during the cutting process.
Video of the Day