Things You'll Need
Red tissue paper
Green tissue paper
Scissors
Green chenille stick
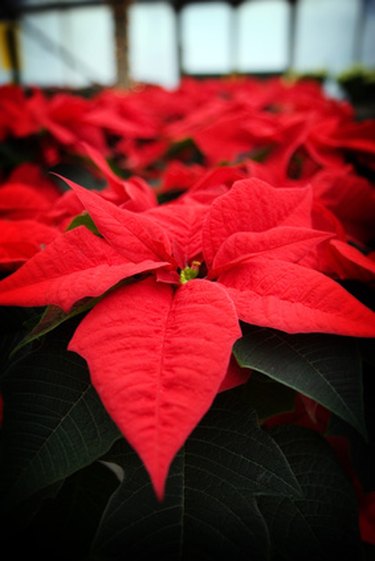
Poinsettia flowers are often used to decorate homes during the winter holidays. If you have small children or pets in the house, you may be hesitant to put out poinsettias due to their poisonous foliage. One alternative to decorating with fresh poinsettias is to create and display tissue paper poinsettias. Tissue paper poinsettias are created using red tissue paper and chenille sticks, but are beautiful enough to be confused with the real thing.
Step 1
Cut out six square pieces of red tissue paper with the sides measuring around 6 inches long.
Video of the Day
Step 2
Place one square of tissue paper onto a flat surface. Place a second square of tissue paper onto the first square so that the points of the second square overlap the sides of the first square. Layer all of the squares of tissue paper in this manner so that they overlap each other perpendicularly.
Step 3
Grasp the layered squares in your hand, and push the middle with your finger. Twist the middle so that all of the layers are twisted together.
Step 4
Attach a green chenille stick to the twisted middle by wrapping it around the middle tightly.
Step 5
Cut two to three leaf shapes out of green tissue paper.
Step 6
Place the green tissue leaves onto the chenille stick, and wrap the chenille stick around them to secure them to it.
Step 7
Separate the layer of the paper poinsettia with your fingers. You can now display your tissue paper poinsettia for the holidays.
Video of the Day