Building your own built-in fire pit is actually a lot easier than it sounds! With careful planning and prep work, you can have this weekend project checked off your to-do list in no more than two hours of hands-on time. All you need to do is level the ground, add sand and gravel, and then build up the fire pit using landscape wall stones. Follow this step-by-step tutorial to find out how to complete the DIY project at home, plus get tips for styling your outdoor seating area with furniture and accessories.
Video of the Day
Things You'll Need
36-inch wood landscape stake (1)
Hammer
1 can of survey marking spray paint
3-foot-long length of twine
Tape measure
Work gloves
1 long-handle garden shovel
1 box of oversized utility trash bags
.5 cubic foot bags of paver sand (3)
1 long-handle transfer shovel
Level
.5 cubic foot bags of pea gravel (3)
Angled landscape stones (4-inch-by-11.2-inch) for a 3-foot diameter fire pit (36 stones)
35-inch high temperature wood-burning fire pit bowl with flat, extended lip (1)
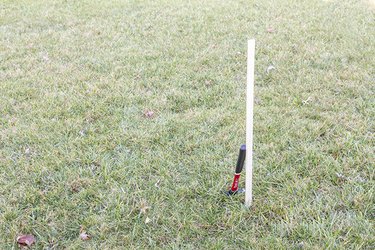
Step 1: Mark the Center of the Fire Pit Area
Mark the center of your built-in fire pit area by hammering the 36-inch lawn stake into the ground.
Video of the Day
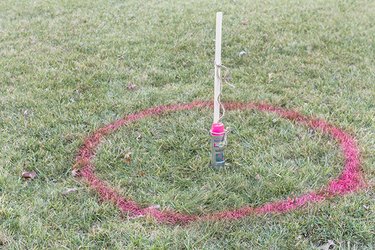
Step 2: Attach a Can of Marking Paint to the Stake
Attach a can of bright marking spray paint to the stake with cut twine. The twine and spray paint will be used as a compass to mark the circular location for the fire pit, with the stake as the center point. For this 4-foot diameter fire pit design (including pea gravel border), the twine was tied so that the paint can was held exactly two feet from the stake, with allowed for a four-foot diameter circle.
Tip
Make sure that the knot around the paint can is tight, but that the knot at the stake is loose, so that it will swing freely around the stake as you mark the circle.

Step 3: Mark the Outside Edge of the Fire Pit
Mark the outside edge of your pit by walking in a circle around the stake, simultaneously holding the paint can taut on the rope and spraying paint onto the grass below. This technique will allow you to create a perfect circle in under five minutes with just one measurement.
Tip
Move the knotted rope down towards the bottom of the stake before beginning this step and be sure to hold the paint can steadily up and down while spraying to ensure an even and accurately marked circular line.
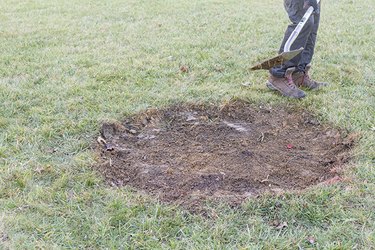
Step 4: Dig Out the Pit Area
Use a sharp garden shovel to dig out the fire pit area to a 2-inch depth, making sure to stay within the outside edge of the painted line. Either discard the dirt and grass in oversized utility trash bags, or set it aside to transplant in another area of your yard.
Tip
If you don't shovel out all of the marking paint from Step 3, you can easily trim it away with a garden trowel once the pit is complete.
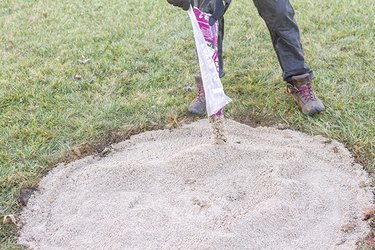
Step 5: Add Sand to the Fire Pit Area
Dump three bags of paver sand into the fire pit area, making sure to stay within the portion previously dug out.
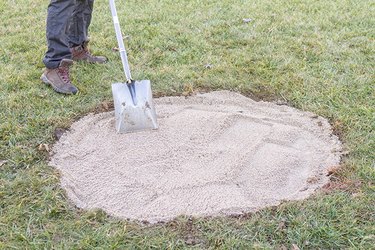
Step 6: Pack Down the Sand
Use a flat-ended transfer shovel to pack down the sand in the fire pit area. This will level the material in preparation for the top layer. Use a level to ensure an even surface, and adjust with your shovel and add or remove sand as needed until the site is level.
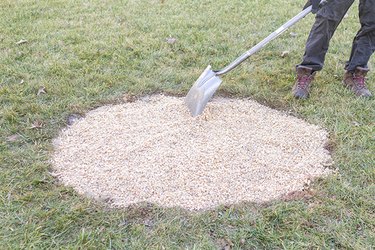
Step 7: Add Pea Gravel on Top of the Sand
Dump three bags of pea gravel on top of the sand in the fire pit area. Level out the pea gravel on top of the sand using the same techniques used in Step 6.
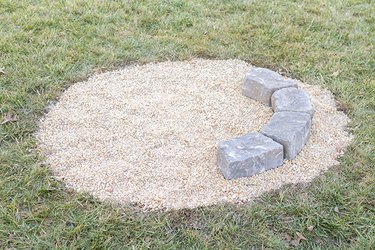
Step 8: Add the First Layer of Angled Stones
Gently lay down the first layer of angled stones along the edge of the fire pit area. Leave a border of pea gravel approximately 6-inches wide outside the stones. Once the stones are in place, you might need to adjust them so that the fire pit bowl sits in the exact center of the fire pit area. Use a tape measure, if desired, and adjust the stones as needed.
Once you are happy with the placement of the first circle of stones, gently press them down into the pea gravel and sand. The stones are heavy enough that you won't need to push them too deeply into the base layers, but a gentle push down will help bed the stones into the gravel.
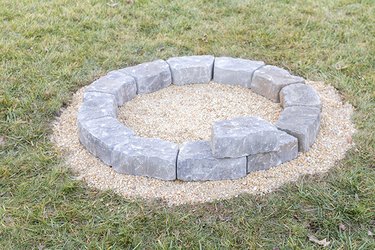
Step 9: Layer on the Final Two Layers of Stones
Lay the final two rows of stones right on top of the first layer of stones. For added stability, arrange the stones in a brick masonry pattern (sometimes called "running bond"), with each top stone situated over the gap between the two bottom stones. The weight of the stones and this pattern will help to keep everything in place without mortar.
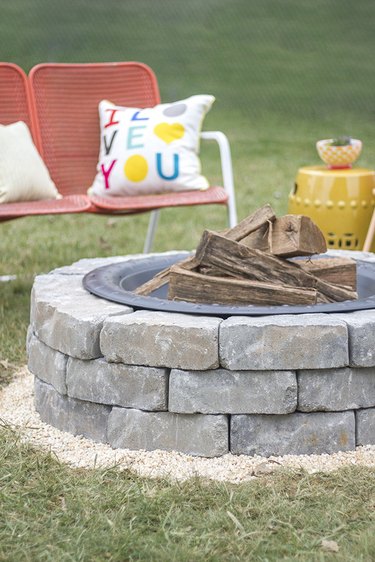
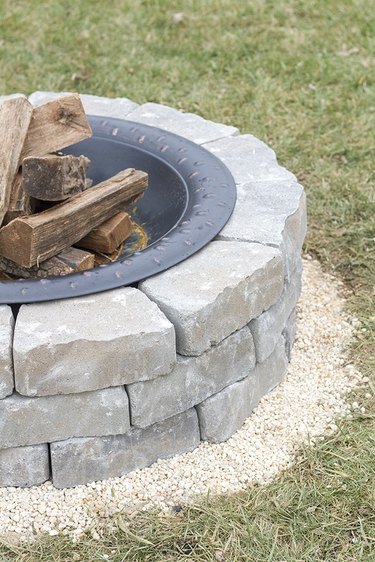
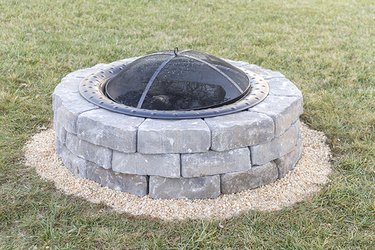
Step 10: Set the Fire Pit Bowl in Place
Set the metal fire pit bowl in place, with the extended lip resting on the inside top edges of the third row of stones. The weight of the steel bowl is enough that you won't need to use adhesive or mortar to keep it in position. The removability aspect of the fire pit bowl also allows you to take the bowl off of the pit for periodic cleaning.
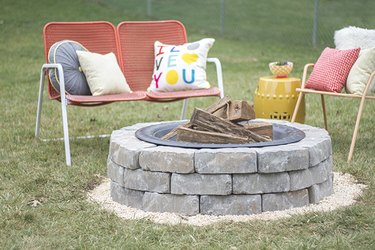
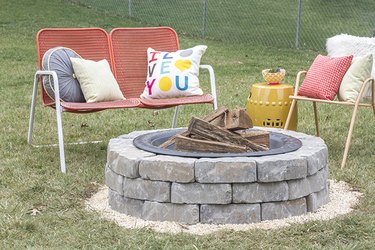
Step 11: Finish With Furniture and Accessories
Finish the fire pit with a collection of furniture and accessories suitable for outdoor conditions. Here, outdoor metal seating was situated around the fire pit, along with a collection of indoor/outdoor pillows and blankets for comfort and color. Consider adding a collection of wooden benches, or even a symmetrical circle of Adirondack chairs, as shown here.
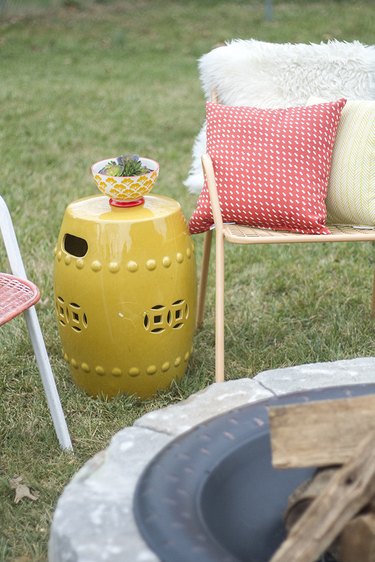

The final step is to add seasoned logs to your DIY fire pit, and then you can enjoy it all season long.
Tip
You can also incorporate swagged café lights by hammering in tall 7-foot wooden poles in the four outer corners of the area, and then nail café lights to the tops of the poles. Just make sure not to swag the lights directly over the fire pit, but instead just along the outside edges.