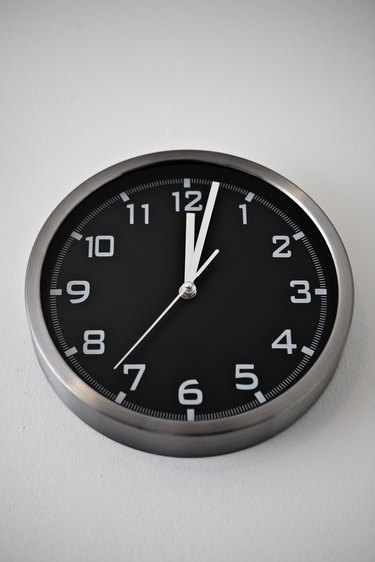
Howard Miller produces heirloom-quality clocks in both pendulum and pendulum-free styles. Most Howard Miller clocks offer a chiming feature with at least one melody selection. Adjustments you will want to make to your clock include setting the time and starting the clock, selecting the chime, adjusting the clock's speed if it runs too fast or too slow, and winding it, a task that must be completed on a consistent basis to keep your clock running properly.
Step 1
Move only the minute hand counterclockwise to set both the hour and minute. If your clock has a pendulum, reach your hand through the clock's front and pull the pendulum to the far left and release to start the clock. Clocks without a pendulum start automatically.
Video of the Day
Step 2
Push the winding key into the holes on the dial face. Howard Miller clocks have one to three winding holes. Turn the key clockwise until tight. Wind the clock once a week.
Step 3
Turn the adjustment nut on the pendulum disk to change the speed of timekeeping. Turn the adjustment nut to the left to slow the clock down. Turn the adjustment nut to the right to speed the clock up. Turn it one complete turn for each half minute you wish to increase or decrease the time keeping.
If your Howard Miller clock does not have a pendulum, move the time adjustment lever to change the speed of timekeeping. Press the lever towards the "-" to slow it down or towards the "+" to speed it up.
Step 4
Move the chime dial located next to the dial to select the preferred chime melody. Change the selection when the clock is not chiming or ready to chime. Chime selections may include just a silent or "Westminster" chime or several melody choices.
Video of the Day