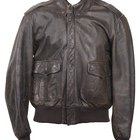
When purchasing a leather jacket, consider the garment an investment you will enjoy for years. A broken or non-functional zipper is a disappointment because it renders the jacket unusable long before it is shabby or out-of-date. Consumers need to know how to repair the zipper as well as when repair is not possible. In the worst scenario, if repair does not appear to be feasible almost any zipper can be replaced.
Repair or Replace?
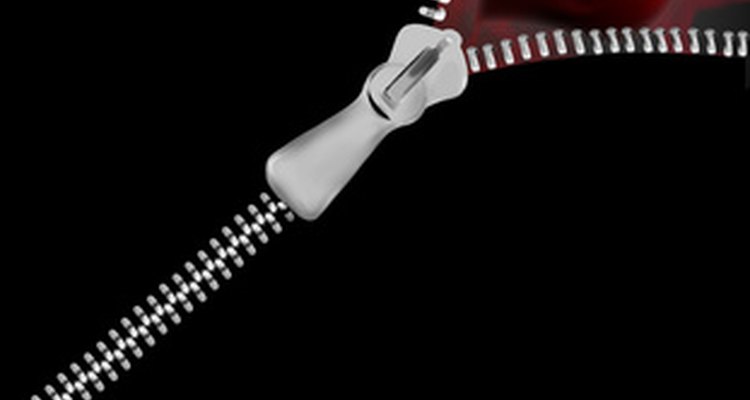
Examine the zipper to determine what part is not working. Is the slider stuck somewhere? Is there a problem with the bottom of the zipper where the two sides meet? Is there a problem keeping the zipper closed? Does the zipper pop open unexpectedly? Are teeth broken or missing? Is the puller for the slider missing? Has the slider come off both sides at the bottom of the zipper?
Repair the zipper's slider if possible. A slider that is worn or out of alignment will no longer be able to align and mesh the zipper's teeth. If the space between the top and bottom of the slider is too wide, you should try squeezing it with pliers. If the space is too narrow, it may be pried gently apart with the blade of a screwdriver. This should remedy the problem of the zipper that won't stay zipped or pops open unexpectedly.
Replace the slider's puller if necessary. A puller should be large enough to grasp easily and wide enough to pull the zipper up or down without sideways stress. Replacement pullers are available at sewing stores and online. These are designed to be easy to install.
Lubricate the zipper's teeth to get past a place where the zipper tends to stick. With the zipper open, rub a piece of beeswax across the teeth on both sides. A candle makes a reasonably good substitute, and the graphite from a pencil may also be used to help the zipper work smoothly. Don't overdo the amount of candle wax or graphite used and wipe off any residue.
Adjust the zipper's slider to allow the bottom post to slide into the slider if the slider has become disconnected from both sides of the zipper. Using the blade of a screwdriver, gently pry apart the slider's top and bottom to allow the zipper's post to enter. Slide the post into the slider and hold it.
Readjust the slider by tightening it around the bottom post, working gently so as not to over-correct. This should solve the problem of the zipper's slider having come off from both sides of the zipper.
Purchase a replacement zipper from an online retailer, sewing store, tailor or leather repair shop. Broken or missing teeth in a zipper cannot be repaired, and even if the zipper could be restored to function, it would be only a matter of time before it would fail completely.
Remove the old zipper by very carefully cutting the thread that has sewn the old zipper into the jacket. Use a small, sharp pair of scissors such as manicure scissors or a seam ripper. Remove any loose threads that remain.
Tape the replacement zipper into place where the old zipper was removed; transparent tape is best because it will not interfere with sewing through the new zipper and the leather. Do not attempt to pin the zipper. Thrusting more pins through the leather will result in damage to the leather.
Sew the new zipper in place with a sewing machine heavy enough to sew through leather, following the zipper manufacturer's directions. If a sewing machine is not available, sew the zipper by hand. In either case, sewing through the leather will require an extra-strong needle and a heavier weight thread than used for normal sewing.
Related Articles

How To Mend or Replace the Zipper on ...
How to Fix a Leather Jacket With a Snap ...

How to Troubleshoot an Omega Sewing ...
How to Fix Missing Teeth on a Zipper

How to Line a Leather Clutch Purse

How do I Replace a 12mm Cartier Tank ...
How to Repair a Clothing Zipper That ...
How to Replace Lace Grommets in Boots

How to Glue a Leather Shoe Strap
How to Remove Rivets in Leather

How to Thread a Ladder Lock Buckle

How to Repair Stitching Holes in ...
How to Carry Heavy Laptops
How to Remove the Tassels From Loafers
How to Fix a Broken Pencil Skirt Zipper

How to Fix Ripped Leather Gloves
How to Put Sliders on Zippers
How to Replace Pull Tabs on Zippers

How to Repair Leather Straps

How to Repair Leather Handbag Handles
References
Writer Bio
Karen W. Waggoner is a retired teacher and lifetime scribbler. She has published short stories, essays in anthologies and periodicals. Waggoner is the author of the memoir, "On My Honor, A Navy Wife’s Vietnam War." She is a graduate of Stetson University, the University of Connecticut and Christian College for Women.
Photo Credits
zipper image by Mijakowska from Fotolia.com