Double-sided documents not only save paper -- they cut your paper costs in half. Even if your printer doesn't support duplex, or two-sided, printing, you can set up Word 2013 to print one side of each sheet, prompt you to put the paper back in the tray and then print the other side. If you're printing multiple pages on each piece of paper like a booklet, set this up using Word's Page Layout options before printing.
Step 1
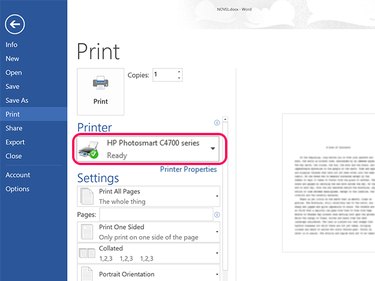
Click the File tab above your open Word document and select Print. Choose your printer if it's not already selected. Specify the number of Copies you want printed beside the Print button and which pages you want printed, at the top of the Settings menu.
Video of the Day
Step 2
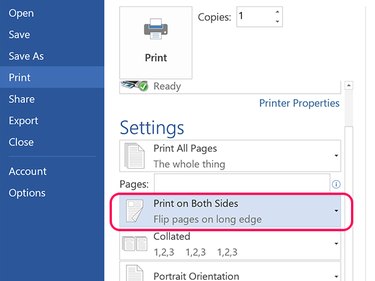
Click the Menu beneath Pages. If your printer supports two-sided printing, click the Print on Both Sides option.
Step 3
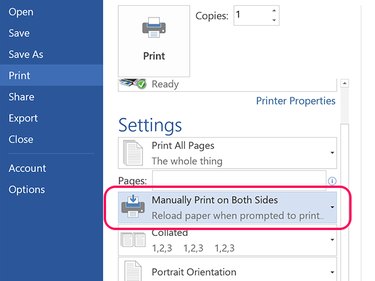
Select Manually Print on Both Sides if your printer doesn't support two-sided printing. With this option selected, Word prints the odd-numbered pages first, and then prompts you to insert the paper again to print the even-number pages on the opposite side of each sheet.
Video of the Day
Custom Printing
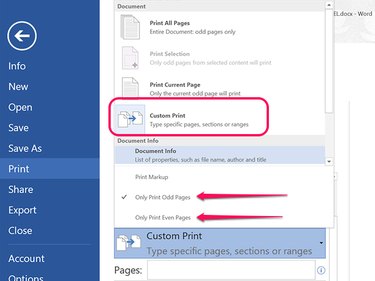
Another way to print two sides on a printer that doesn't support two-sided printing is to select the Custom Print option instead of Print All Sides. Select the Only Print Odd Pages and print the document. You can then put the paper back in the tray, select the Only Print Even Pages and print the document again.