These days, most gas stoves and ovens have electronic spark igniters to start the burners, but many older ones found in apartments or vintage kitchens still have standing flame pilots. If you have an older stove, then you'll want to know how to adjust the pilot flame to keep your unit working properly. If a gas stove pilot is too hot, you're wasting gas. If it's too cool, it might not light the burners — or the pilot itself could flicker out like an afterthought.
Lighting and Adjusting the Pilot
Video of the Day
Some stove and oven units, such as a Magic Chef gas range, have a single pilot that is located in the oven and feeds both the stove and oven burners. To light a Magic Chef pilot light, open the drawer under the oven and look for a metal prong shaped like a sprinkler head sticking out. Remove the oven control knob and, if possible, have someone push in and hold the control rod while you put a lighter under the prong. Keep depressing the rod for about 20 seconds in order to warm the thermocouple and ignite the pilot. For other stove brands, the procedure for lighting pilots is similar.
Video of the Day
If the gas stove pilot is too hot or too cool, you can adjust it by turning a screw located near the handle. Usually, you have to remove the burners and cooktop to access the screw. Follow the pilot tube to the control handle until you see an air chamber, and there is where you'll find the screw.
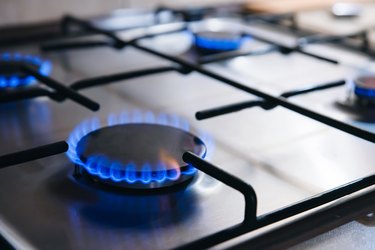
Turn the screw clockwise in small increments to reduce the size of the pilot flame. To increase the flame size, turn it counterclockwise. If all is well with the system, and the flame responds to the adjustment, you should be able to get a perfectly blue flame. The flame should be from a 1/4-inch to 3/8 of an inch high, according to Bob's Appliance Repairs.
Adjusting Air Intake to the Pilot
To adjust the pilot light on some stoves, such as an Americana stove pilot light, you may also have to adjust the air intake manually to regulate the air/gas mixture. Air intake is controlled by a cylindrical plate, with an aperture fitted around the air chamber near the control knob.
To adjust the air intake, loosen the screw holding the intake plate just enough to be able to move the plate. Rotate it incrementally in the direction needed to close the aperture, which should reduce the flame size. Rotate it the other way to open the aperture and increase the size of the flame.
Pilot Adjustment Screw Not Working
A persistently weak flame that burns blue and yellow is a sign of a blockage in the pilot tube, which you can't correct with the adjustment screw. Depending on the location of the pilot, it's rather easy to disassemble the tube and clear the blockage by blowing compressed air into the feature. Sometimes, the opening gets blocked by cooking grease, and poking a pin into the opening should clear it.
When the flame flickers and goes out repeatedly, forcing you to relight it, the thermocouple is responsible, usually. This is a heat-sensitive probe positioned next to the pilot that sends an electrical signal to the gas valve to stay open when the pilot is on. Try moving the thermocouple a little closer to the flame. If that doesn't work, consider replacing it.