Things You'll Need
Epoxy based filler
Pigment (optional)
Paint (optional)
400-grit sandpaper
Plastic mixing cups
Small putty knife
Mylar
Painter’s masking tape
Tooth brush
Plastic is an extremely durable material that can be formed into any conceivable shape. It is so strong that it is used for automotive parts. Its impact resistance makes it a popular choice for high stress applications. However, its chemical composition makes it softer than many materials, so it scratches and gouges easily. This type of repair is identical to repairing fiberglass products. Replacement parts are expensive. Use a few simple tools and resin based fillers to save money by repairing the gouge rather than replacing the plastic piece.
Step 1
Clean the area thoroughly. Even grease from human skin can create a barrier between the epoxy filler and plastic being repaired. Epoxy fillers need an unobstructed surface to adhere to. Use dish detergent, formulated for grease removal, and hot soapy water to clean the object being repaired. An old tooth brush should be used to clean the inside of the gouge.
Video of the Day
Step 2
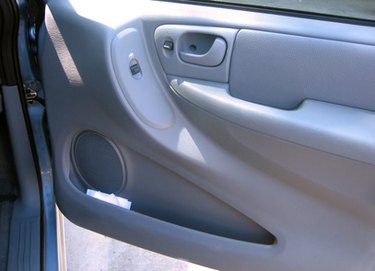
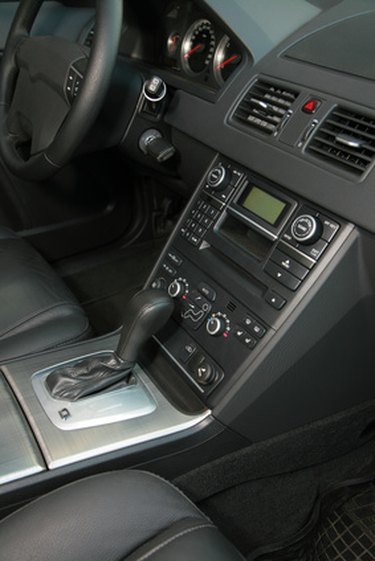
Inspect the area immediately around the gouge for stress, which can cause a divot or low point to form around the gouge. Any divots will have to be filled to ensure an even surface around the damage. Use painter's masking tape to isolate the area around the gouge. Often, gouges will be located near an object, such as a car's dashboard or a cell phone's keypad, which can be damaged by sanding. Taping the area off will ensure that only the affected area is sanded.
Step 3
Sand the area within the masking tape boundary with 400-grit sandpaper. Make sure not to sand beyond the masking tape, otherwise the unaffected area will be scratched. Wipe the sanded surface with a cotton cloth to remove any debris. Cotton will not scratch plastic whereas paper towels can, because of the hard material used to hold the paper towel together.
Step 4
Mix the two part epoxy filler. Most epoxy fillers come in a neutral color, which means they have to be tinted to match the color of the plastic being repaired. Epoxy filler can also be painted after it dries. If tinting the epoxy filler, add a small amount of the appropriate pigment to the resin and mix. Boating supplies stores are a good source for resin friendly pigments. Most epoxy fillers consist of two parts, which means they use a resin and a hardener. Add the pigment to the resin half of the mixture (it will be labeled on the containers) and stir until an even consistency is reached. Then add the hardener.
Step 5
Apply the epoxy filler to the gouge with a small putty knife. The epoxy filler is thick and will spread easily. After filling the gouge, lay a small piece of Mylar on the surface, covering the gouge. Smooth the Mylar out with the putty knife. The Mylar keeps the epoxy flat and smooth as it dries, leaving a clean, finished surface when removed. Allow the resin to dry for 24 hours. Peel the Mylar off, after the resin is dry and the project is complete.
Tip
Fiberglass thickening agents can be added to the epoxy filler to increase the resin’s rigidity. The thickening agent consists of tiny glass beads known as micro-spheres. When mixed with resin, they thicken the otherwise paste-like epoxy. Epoxy filler can be sanded and painted to match any color.
Video of the Day