
When it comes to writing a daily journal, Microsoft Word 2013 is a good choice. Once you set up the page layout as you want it, just insert the date and begin writing about whatever is on your mind. If you're looking for something with more functionality, give Microsoft OneNote a try. Unlike Word, OneNote is designed as a notebook, rather than single documents. OneNote automatically adds a date and time to each new entry and gives you the ability to organize a journal in different sections.
Using Word for Journals
Video of the Day
Step 1
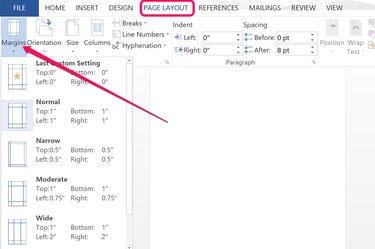
Launch Word and create a new blank document. Set your preferred margins by clicking the "Page Layout" menu and selecting the "Margins" icon. Use a wide margin if you plan to print the pages, especially if you like to add handwritten notes to the documents.
Video of the Day
Step 2
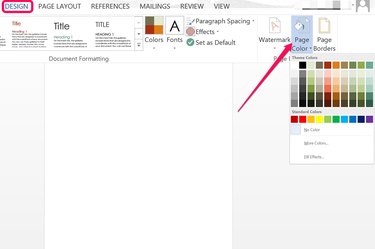
Click the "Design" tab. You'll be looking at this document every day, so select a theme that appeals to you by clicking the "Themes" icon on the left side of the Ribbon. The theme gives you a set of default fonts and colors for the document. Select a document background color by clicking the "Page Color" icon on the right of the Ribbon.
Step 3
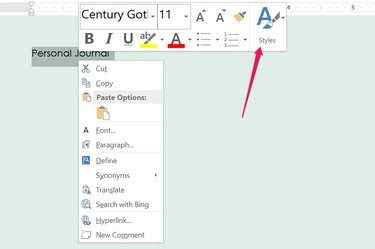
Type a title for your journal at the top of the page. "My Journal," "Dear Diary" or "My Offline Blog" could work well. If your journal is about something specific, like "How I'm Going to Take Over the World," feel free to use that. Highlight the title and right-click it to select a font, or select something from the "Styles" icon, like "Heading 1."
Step 4
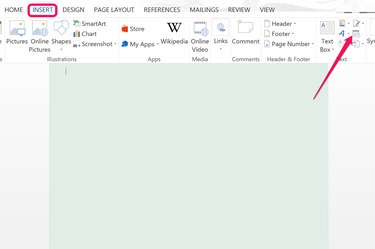
Insert today's date by clicking the "Insert" menu and then clicking the "Date and Time" icon. Select any format you wish, using either just the date or the date and time of your journal entry. To left align the date, press "Ctrl-R" or click the "Home" menu and then click the "Right Align" icon.
Step 5
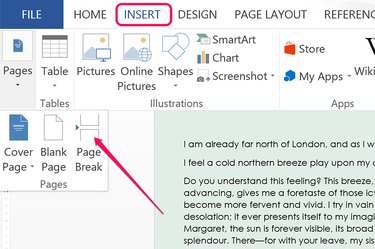
Begin typing your first entry. When you get to the end, click the "Save" icon at the top of the window. The next time you begin a journal entry, insert a page break by pressing "Ctrl-Return," or by clicking the "Insert" menu, selecting the "Pages" icon and clicking "Page Break."
Step 6
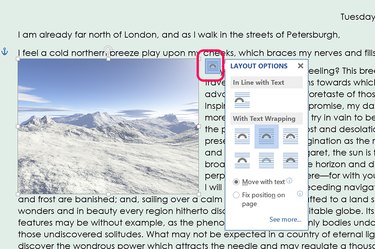
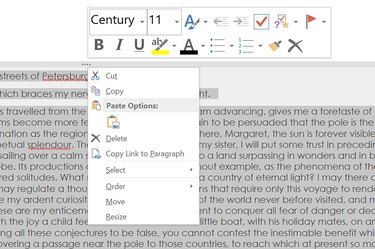
Insert photos, drawings or any other images for your journal. Drag an image file directly onto the document or select the "Insert" menu and click "Pictures." Drag the corner of an image to resize it. To move the image, just drag it. If you click the "Layout Options" icon located near the upper right of the image, you can specify how the text wraps around it, or if the image should go behind the text.
Using OneNote for Journals
Step 1
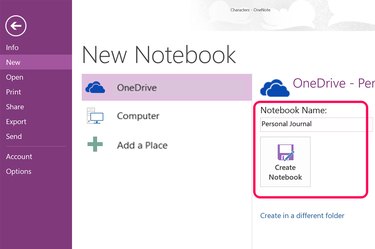
Launch Microsoft OneNote and create a new notebook with a name like "Journal" or "Diary." Select a location to store the notebook, either on your computer or on your online OneDrive folder. Click the "Create Notebook" button.
Step 2
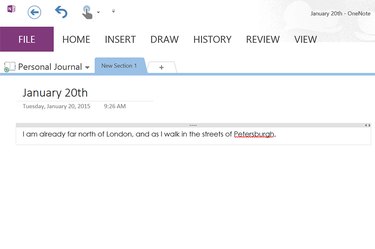
Type a title for your first journal entry. Note that the date and time already appear beneath the title so you can use a thematic title if you wish, like "My First Day of School" or "My Thoughts for Posterity." Press "Return" and begin writing. A text box is created automatically for the contents of your journal entry.
Step 3
Change the font, color or size of any text in OneNote by right-clicking it. OneNote uses the same font formatting options as Word.
Step 4
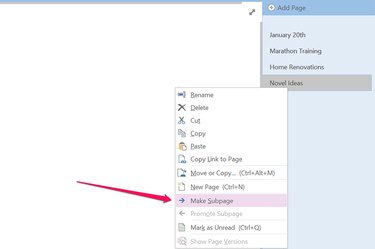
Add a new page to your journal by clicking the "Add Page" option in the right menu. You'll notice that every page is listed in this menu. You can drag the pages in this menu into any order you like. If you right-click a page and select "Make Subpage," it becomes a child page to the page above it. Using subpages, you can add different types of journals under the same date, or different journals with the dated pages nested below each journal.
Step 5
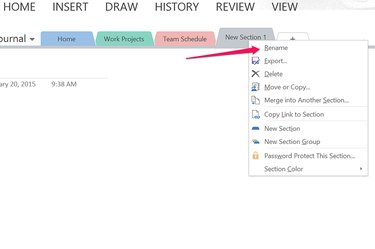
Click the "+" tab at the top of any page to add a new section. This is another way of organizing different journals into the same notebook. To rename a section, right-click the tab and select "Rename." Click on any tab to move to that section of your journal.