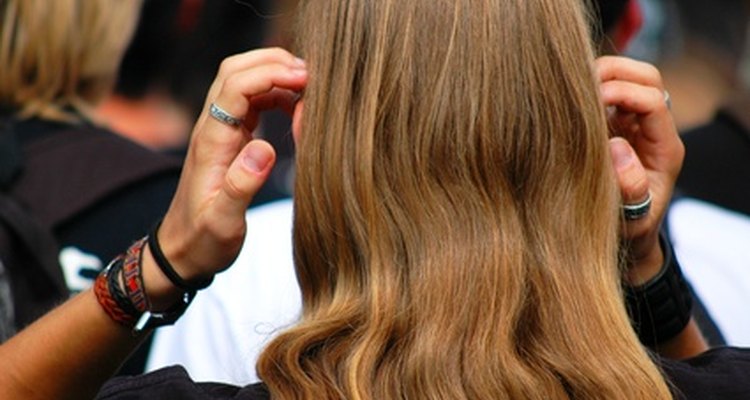
Micro loop hair extensions are a method of strand by strand fusion that utilizes small attachment rings, without the use of heat or glue. Applying micro loop extensions requires precision and a set of professional extensions tools. Micro loop extensions are 100% human hair and can therefore be styled and cared for just like natural hair. One application of micro loop extensions can last up to eight months with proper care and maintenance.
Parting and Preparation
Part clean, dry hair that is free of product. Separate a horseshoe-shaped section that encompasses the bangs and crown and secure with a duckbill clip.
Create a vertical part on each side of the head, from the tip of the ear to the crown section. Comb hair forward and clip in front of ears.
Part remaining loose hair horizontally across the rear of the head, halfway between the crown and nape. Pin the upper section out of the way with duckbill clips.
Separate 1/2 inch at the nape of the neck and comb flat. Separate a 1/2 inch row of hair, which will be the base for the first row of extensions. Clip the upper part of the section with duckbill clips.
Application
Insert the hooking device through the micro loop on the hair extension strand.
Hold approximately 15 strands of hair between the thumb and forefinger of one hand and insert the strands into the tip of the hooking device.
Slide the micro loop extension up the stem of the hooking device and onto the hair strands, positioning the loop 1/4 inch away from the scalp. In a slow, smooth motion, pull the hooking device away from the hair strands.
Place pinchers of the clamping tool around the micro loop and squeeze firmly to secure the extension to the natural hair.
Repeat extension application through the rest of the row, leaving 1/2 inch on the perimeter hairline for blending.
Release the lowest section of hair and separate another 1/2 inch of base hair on which to apply the micro loop extensions. Repeat parting and application throughout the rear of the head, until the crown section is reached.
Release and comb side parts. Apply micro loop extensions evenly but sparingly throughout this area. In the case of hair that is already longer than six inches, the side parts may not need additional extensions.
Release the crown section of hair. Comb hair evenly and trim the extensions to blend with the natural hair.
Related Articles
How to Adjust Bead Extensions

How to Curl a Pixie Cut
How to Use a Volumizing Finger Diffuser
How to Do a Sew-In Hair Weave on a ...
How to Use Velcro Rollers So They Don't ...

How to Apply I Tip Hair Extensions
How to Do a Beehive Braid Style for a ...
How to Braid Yaki Kanekalon Hair

How to Curl Medium Layered Hair

How to Make a Grecian Braid

How to Do a High-Fashion Teased Ponytail
How to Take Beaded Hair Extensions Out ...

How to Use Motions Hair Relaxer
How to Tie Micro Braids at the End

How to Finger-Dry Hair

How to Braid Underhanded

How to Braid from the Root

Directions for Cutting Hair With a ...

How to Pin Curl Short Hair

How to Get the Look of Dreads Without ...
References
Writer Bio
Jennifer Van Leigh began writing short pieces in 2007. With over five years in the hair industry, Van Leigh has contributed articles at Atlanta Salon & Spa and is certified as an extensions stylist. She studied scriptwriting and creative nonfiction in Gallery 37, a Chicago youth arts program.
Photo Credits
Hair stylist image by Nina Hergarten from Fotolia.com