If you think that you look too skinny or not strong enough in pictures, you may have been wondering if there is a way to make yourself look more ripped or built in pictures. Well, you can edit pictures to make yourself look more buff by using photo-editing software. It will be hard for anyone to notice that the picture is fake, so people will think that you are really buff.
Step 1
Download a 30-day trial of Photoshop from the Adobe website (see Resources). Click on the "Download Now" button to download the software. The download time will vary depending on your Internet-connection speed. Extract the download and install the Photoshop program to your computer.
Video of the Day
Step 2
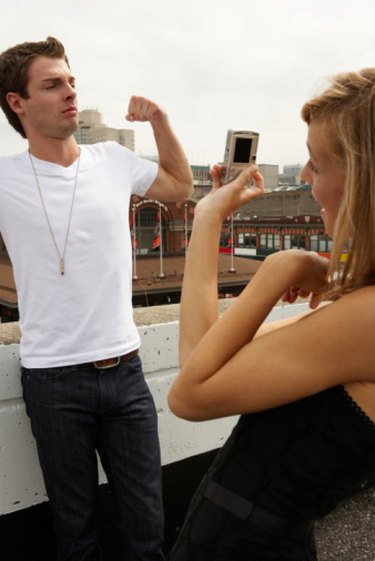
Use a picture that has dimensions larger than 350-by-400 pixels. Do not use a cell-phone camera or web-camera image because it will not have large enough dimensions.
Step 3
Double-click on Photoshop to open the program and open your picture by going to "File" and "Open." Press "CTRL+J" to make a duplicate layer of your image in case of mistakes.
Step 4
Click on "Filter" and "Liquify." Once the new window opens, there will be a list of tools on the left hand side of the screen. click on the "Bloat" tool to use. Set the "Brush Size" to "60," set the "Brush Density" to "50," Brush Pressure" at "100," and "Brush Rate" at "80." When selecting brush size, keep in mind the size of the person's face. Use a brush that is similar in size.
Step 5
Click on the person's neck, shoulders, biceps, triceps and anywhere else you would like the person to appear buff. When clicking on the areas, click multiple times so that you can create the realistic effect. If you make mistakes, you can press the "CTRL+Z" key to remove them.
Step 6
Click on the "Burn" tool and select a soft round brush. Set the exposure of the brush within 20 to 35. Click on the "Zoom" tool to magnify the picture where you are adding the effect if necessary. Click-drag on the parts of the picture with the burn tool that you think need shadows added to that particular area.
Step 7
Click on "Image," "Adjustments" and "Curve." Drag the line slowly to change the effect of the picture. Look at the preview to change the curve according to your liking. Change the curve according to the brightness and contrast of your picture. Some pictures may not look very well adjusted. (This step is optional.) You have successfully edited your picture to make yourself look buff.
Video of the Day