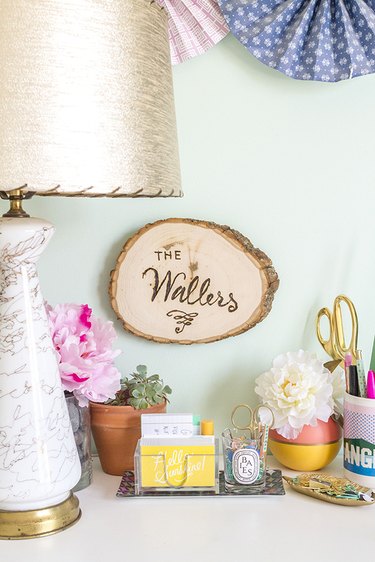
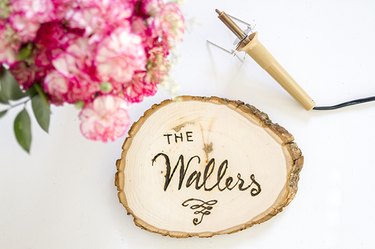
Tree slab art is a refreshingly modern take on a rustic idea, and fortunately, it's easy to DIY the look. Simply use a wood-burning tool to add your favorite phrase or your family name to a cut wood slab. The project requires just a few steps, and the results will last forever when properly sealed and cared for. Just go into the process knowing that care is required to avoid injury because the tool can cause burns if mishandled.
Things You'll Need
Video of the Day
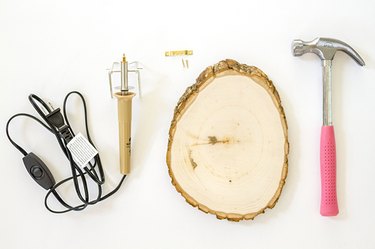
- Wooden tree slab (at least 1 inch thick)
- 120-grit sandpaper (optional)
- Wood-burning tool
- Wipe-on urethane sealer (not pictured)
- Foam paintbrush (not pictured)
- Hammer
- Sawtooth picture hanger and accompanying hardware or nails
- Lightweight picture-hanging drywall nail
Video of the Day
Step 1: Prep & Design Work
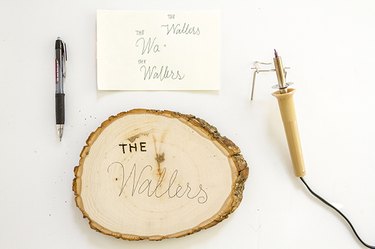
If you purchased your wood slab already cut and treated (i.e. sanded smooth, not varnished), it won't need to be sanded beforehand. However, if you make the slab yourself, you may need to sand it before getting started.
Use a pen or pencil to practice your design on a piece of scrap paper. When satisfied, use a pen to draw it onto the surface of the wood slab.
Step 2: Burn Your Design
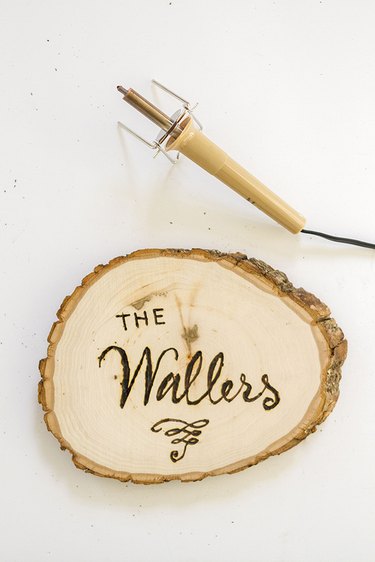
Use the wood-burning tool to burn your chosen phrase or name onto the wood slab. Hold the tool as though it were an oversized pencil. Practice on the back of the wood slab or on a piece of scrap wood if this is your first time using a wood burner. To start, it's easiest to press the tip of the burner onto the surface of the wood slab and wait until you feel it indenting into the wood. Then, slowly and gently pull the tool over the lines you drew. It is often easiest to pull toward you and to rotate the wood as needed for certain lines. Do what feels comfortable.
Step 3: Darken Your Design
Don't be alarmed if you see smoke. This is normal. The longer you hold the tool against the wood (i.e. the slower you go), the darker the line. You can always go back over lines to make them darker. Note that the tool will get hot over prolonged use, so you may need to work in batches if it gets uncomfortable to hold. It shouldn't burn you when held properly, but it may be hard to hold for longer than 20 minutes. When finished, allow the wood slab to cool completely for 30 minutes.
Step 4: Seal the Wood
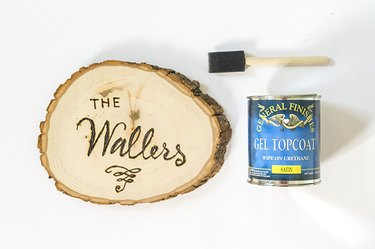
Open and stir a can of wipe-on urethane sealer. Use a foam paintbrush to paint one or two coats of the sealer onto the front of the wood slab to give it a slightly glossy texture. Wait two hours between coats if you do more than one. If you intend to hang your sign outdoors, do the sealing process on the front, back, and sides of the wood slab. Let the sign dry overnight after you complete the final coat.
Step 5: Add Picture-Hanging Hardware
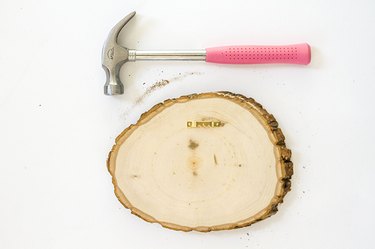
Flip the wood slab over and use a hammer and pair of nails to attach a sawtooth picture hanger in the back center of the sign.
Step 6: Hang Your Wood Sign

Add a nail to the wall with a hammer and hang your custom sign. If it has been sealed on all sides, you could instead use a masonry-grade drill bit and screw to hang the sign outside your home on brick or stone.