Scrolling or panning a static image in PowerPoint -- a technique known as the Ken Burns Effect after the way the famous documentarian used the effect to bring life to still images -- takes resizing, positioning and animating an image in such a way as to create the illusion of moving a camera across an image. The effect doesn't come built-in to PowerPoint, as it does in iMovie, but recreating it doesn't require any video editing expertise.
Add the Scroll Effect
Video of the Day
Step 1: Insert and Resize an Image
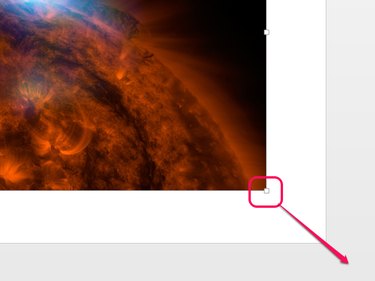
Click Pictures on the Insert tab to insert your image, and then resize it so that the picture is larger than the slide. This resizing is key to the effect: If your picture fits on the slide, animating it merely makes it look like the picture is moving around the slide. When the picture is larger than the slide, the animation looks like a camera is panning across the image. The larger the image, the more you can move it without revealing the white background.
Video of the Day
Step 2: Add a Motion Path
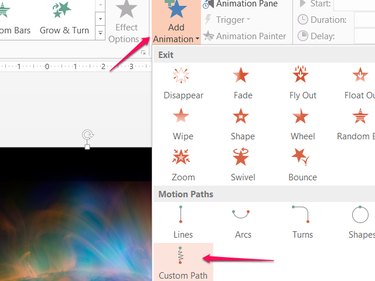
Open the Animations tab, click Add Animation, scroll down and choose Custom Path.
Step 3: Draw the Path
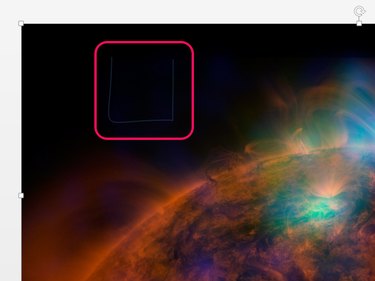
Click and drag to draw the path for the image. Drawing a path takes some practice, as it's hard to visualize how your motion path line will play out. The path you draw moves the image as if you were dragging the image around the slide. In other words, when you draw a downward line, you create an upward panning effect, because the picture moves down across the "lens."
Double-click to finish drawing the path and preview the effect. If you don't like how it turns out, press Ctrl-Z to undo the path and try again.
Step 4: Lower the Speed
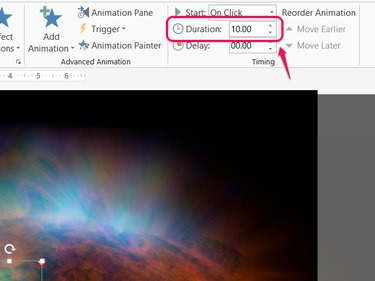
Change the Duration in the Timing section of the Animations tab to set how long the entire effect lasts. The default setting of 2 seconds is too fast for the desired effect, so increase the duration to a higher value, such as 10 seconds or more.
Add the Zoom Effect
For the full Ken Burns Effect, zoom your image as it pans. The best tool in PowerPoint for this job is the Grow/Shrink animation.
Step 1: Add the Animation
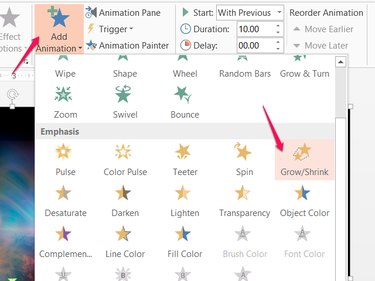
Click Add Animation and add the Grow/Shrink animation.
Step 2: Link the Two Animations
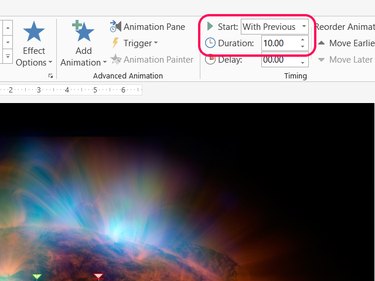
Set the Duration of the Grow/Shrink animation to the same number as the panning animation. Change the Start setting to With Previous to link the two animations, playing them at the same time and completing the effect.