USB (Universal Serial Bus) drives are becoming more and more common as people fill their computer system drives up with downloads of movies, pictures and files. These USB drives plug into an available port and are easy to carry between different computers. SATA (Serial Advanced Technology Attachment) is one of the newest technologies for connecting hard drives to motherboards. With the use of a USB-to-SATA converter, you can connect that external USB drive to an SATA port on your motherboard.
Step 1
Power down the computer on which you will be connecting the USB drive to the internal SATA port. Log out of the operating system and safely shut down. Unplug the computer from the wall.
Video of the Day
Step 2
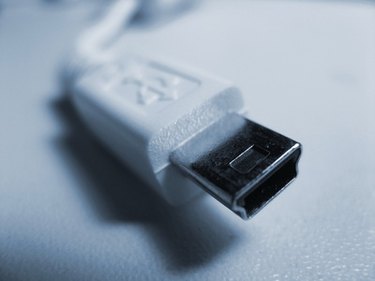
Position the USB drive that you want to connect to the SATA port near the computer. Plug the USB drive in if needed.
Step 3
Open up the computer case. The majority of cases are held in place by Phillips head screws located at the rear of the machine, by the power supply exhaust. Remove these screws by turning them counterclockwise. Newer cases may have a side access panel that allows for direct access to the motherboard. These are usually held in place by thumbscrews. Set the screws aside. Remove the computer case.
Step 4
Ground yourself by touching a large metal object, such as a chair or lamp. This dissipates any static electricity, which can harm computer components, in your body.
Step 5
Locate the internal SATA port. These will be located on the motherboard. Check your motherboard manual for a schematic diagram of the motherboard layout to help you pinpoint the location, if needed. Plug one end of the SATA adapter into the port.
Step 6
Plug the USB end of the adapter into the USB port on the USB drive.
Step 7
Plug the computer back in. Power up the system. Look in "My Computer" or your "Computer" icon to ensure that the USB drive can now be seen by the system. If not, try rebooting.
Step 8
Close up the computer case. If you want to make the connection between the USB drive and your internal SATA port a permanent arrangement, thread the USB cable through an empty drive bay or other slot so that the computer case can be screwed shut.
Video of the Day