The FAT16 file system is an older version of the File Allocation Table system. The newer FAT version is FAT32, which is recommended over the FAT16 system unless compatibility with older hardware forces FAT16 use. Formatting your USB flash drive in Windows 7 imposes a 4GB limit on the USB drive's size when using FAT16. If your USB flash drive is larger than that, Windows will not even list FAT16 as a formatting option.
Step 1
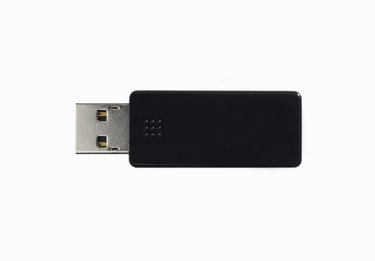
Insert your USB flash drive into an available USB port on your Windows 7 computer.
Video of the Day
Step 2
Click "Open Folder to View Files" in the AutoPlay window.
Step 3
Right-click the USB flash drive's letter and select "Format."
Step 4
Select "FAT" from the File System drop-down menu.
Step 5
Click "Start" and select "OK" from the confirmation window. Formatting can take several seconds or minutes, depending on your system. Windows 7 notifies you when formatting is complete.
Video of the Day