Things You'll Need
Flooring
Nail gun
Tool oil
Compressor
Air hose
Brad nails

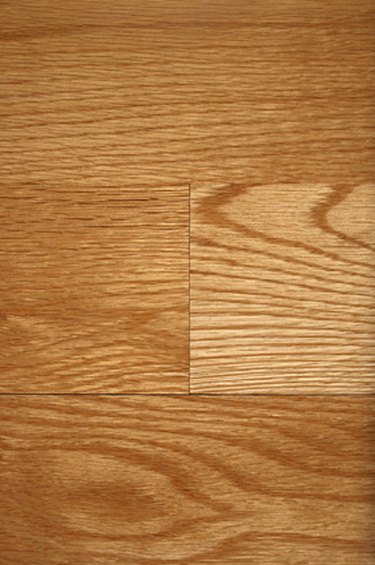
Engineered hardwood is a solid wood floor product that is manufactured from thin layers of hardwood laminated together to provide planks with good durability and incredible dimensional consistency. Like most of the newer floor products, you can install it floatin without glue or nails, glued down or nailed into place on plywood and other wood product subfloors. A flooring nailer is the preferred method for attaching flooring, but a brad nailer, used correctly, runs a close second. Shooting at the right angle and choosing the correct nails are the main keys.
Step 1
Setup and turn on the compressor, with hose attached, and allow it to fully pressurize. Apply a few drops of pneumatic tool oil into the fitting on the bottom of the nailer.
Video of the Day
Step 2
Open the magazine. The clip or magazine is located on the front of the gun underneath the plunger, or barrel. Nail gun magazines typically open by releasing a spring clip at the bottom of the magazine. Fill the clip with 1 ½ -inch nails. This will drive through the flooring and set as deep as possible into a 3/4-inch subfloor.
Step 3
Set your first row of boards spaced 1/2-inch from the wall with solid wood spacers. The groove, or notched edge of the plank, should be facing the wall with the tongue or tab out.
Step 4
Put on your safety glasses before attaching the nailer to the air hose. Attach the nailer by pulling down on the brass ring surrounding the fitting on the end of your air hose. Insert the nipple fitting of the nailer firmly into the hose fitting. With the nailer pressed into the fitting, release the brass ring to lock the nailer in place. Remove the gun by pulling back on the ring.
Step 5
Place the tip of the brad nailer plunger on top of the plank in the corner where the tongue or tab meets the face of the plank with handle of the gun running parallel with the long edge of the plank. Tilt the gun so that the plunger is tilted with its point toward the wall at a 45-degree angle.
Step 6
Press the tip of the plunger firmly against the plank while maintaining the position you just established. This will release the gun's safety mechanism. Hold the gun firmly and squeeze the trigger. Check the nail to see that has driven in flush. Tap the heads of any protruding brads with a hammer and nail set to press them in slightly below the surface. Drive one nail every 12 to 16 inches.
Step 7
Install subsequent rows by pressing them onto the first row and nailing through the tongue at a 45-degree angle as outlined. Leave the last row against the far wall unfastened. The quarter round or base shoe molding will hold it in place.
Video of the Day