


Installing an entry door for the garage is the right step in utilizing space wisely. Being able to access the garage from outside of the house makes it easier for retrieving yard work tools and anything else that might be stored in the garage. Learning how to do this will also add the knowledge needed to install doors anywhere else. Follow the steps below to do it right.
Items you will need
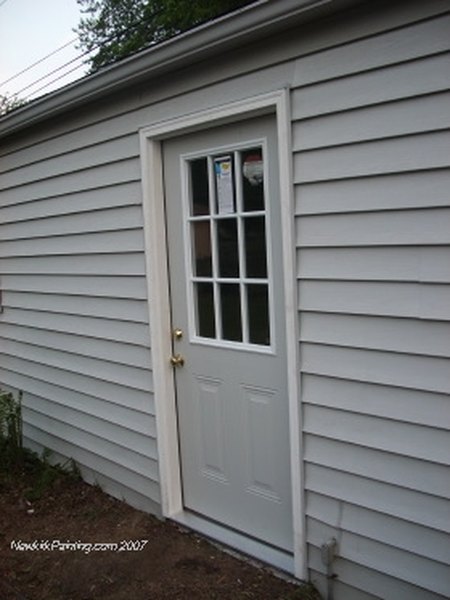
36-inch pre-hung entry door
(2) 2 x 4 x 81-inch studs
(2) 2 x 4 x 41-inch studs
Door casing
Electric miter saw
Skill saw
Jig saw
Screw gun
Hammer
Level
Measuring tape
Pencil
Carpenter’s framing square
Door shims
2 ½ -inch deck screws
8d finish nails
Nail set
Wood putty
Start
Remove any outside wall covering to expose the wall where the door will be installed. Do the same inside the garage. The opening in the wall needs to be 4-inches wider and one inch taller than the pre-hung entry door.
Remove two of the studs in the wall and create a 41-inch opening with the studs that were removed. Next, install the two 81-inch studs on either side of the opening. Lay one of the 2 x 4 x 41-inch studs on top of the other one and screw them together with the 2 ½ inch deck screws. This is the header.
Place the header on top of the two 81-inch studs. Drive a screw through the 2 x 4 wall studs into the ends of the header to secure it in place.
Remove the door from the pre-hung frame by removing the hinge pins. Next, set the doorframe in the opening and center it in the opening. Use the door shims if needed. Remove one screw from each of the hinges in the doorframe. Replace them with 2 ½-inch deck screws for strength.
Hold the level against the inside of the frame to be certain it is plumb and level across the top. Secure the doorknob side of the frame with one 8d finish nail and do not set the head of the nail. Be certain to drive this nail on the part of the frame that the door does not close on.
Finish
Install the door on the hinges with the hinge pins. Check for equal distance between the edge of the door and the frame. Adjust if needed. Once set, drive three 8d finish nails in the doorknob side of the frame and set the nail heads with the nail set.
Measure from the inside of the edge of the frame ¼-inch and make a mark. Do this on all three parts of the doorframe. This will allow the door casing to secure to the doorframe, but will leave ¼-inch of it showing.
Measure up from the bottom of the frame up to the ¼-inch mark at the top of the frame. Mark the door casing and cut a 45-dgree angle that leaves the outside of the casing longer than the inside. Repeat this for the other two parts of the doorframe and the other side of it as well.
Secure the casing to the doorframe with 4d finish nails and set the heads. Drive 8d finish nails along the outer edge of the casing into the wall and set the heads with the nail set.
Fill all the nail holes with wood putty. Apply stain or paint of your choice.
Warnings
- Do not leave power tools unattended.
Tips
- Always wear safety glasses.
- Drilling pilot holes for the nails will make it easier to secure the doorframe and the casing.
- If a deadbolt lock is installed, be certain to use long screws in the striker plate. They need to go through the doorframe and into the wall stud.
Tips
- Always wear safety glasses.
- Drilling pilot holes for the nails will make it easier to secure the doorframe and the casing.
- If a deadbolt lock is installed, be certain to use long screws in the striker plate. They need to go through the doorframe and into the wall stud.
Warnings
- Do not leave power tools unattended.
Writer Bio
Michael Straessle has written professionally about the construction industry since 1988. He authored “What a Strange Little Man,” among other books, and his work has appeared in various online publications. Straessle earned a Bachelor of Arts from the University of Arkansas at Little Rock in professional/technical writing.