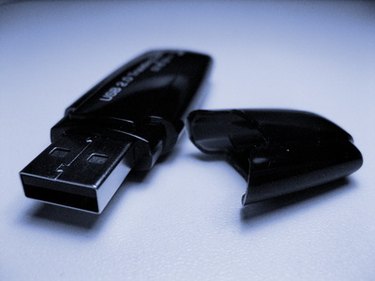
Computer viruses can be spread from computer to computer through the use of a USB drive. Infected USB drives spread the viruses through the AutoRun function that is enabled on many computers. The AutoRun function automatically starts when the computer detects that the USB drive has been inserted in the USB port and the virus that is on the USB drive is then spread to the computer. There are some easy steps to take to ensure that your USB drive is not infected with viruses.
Step 1
Disable Autoplay. In Windows Vista, click "Start" and select "Control Panel." Go to "Hardware and Sound" and select "Autoplay." Uncheck the box "Use Autoplay for all Media and Devices." Click "Save" at the bottom.
Video of the Day
Step 2
Insert the USB stick into the computer. If you have not turned off the Autoplay and the Autoplay feature comes up on the screen, click "cancel." Do not run the Autoplay.
Step 3
Click "Start." In the Search field, type "CMD" and press "Enter." A command prompt will appear.
Step 4
Type the drive letter for the USB drive and press "Enter." The drive letter will change to something from C:\Users\ to H:, depending on what your drive letter is.
Step 5
Type "dir /w/a" and press "Enter." This will bring up a directory list of the files that are on your USB drive. Look to see if any of the following is listed in the directory list: "Autorun.inf," "Ravmon.exe," "New Folder.exe," "svchost.exe" or "Heap41a." If any of these are present, the USB drive is more than likely infected and the viruses will need to be removed from the USB drive.
Video of the Day