
If you are tired of the default appearance settings for Internet Explorer 11, you have the option to change the various color schemes such as test color, background color and link color. IE allows you to change the color schemes in the Appearance section under "Internet options." Additionally, you can go to Personalization to change the color of the borders and task bar.
Step 1
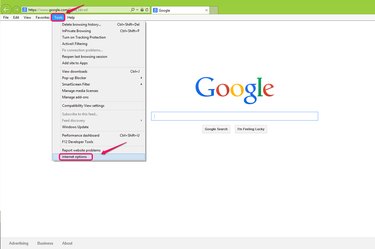
Go to "Tools" on the menu bar and choose "Internet options" from the drop-down list.
Video of the Day
Step 2
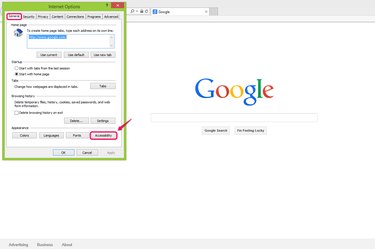
Click "Accessibility" in the Appearance section under the General tab.
Step 3

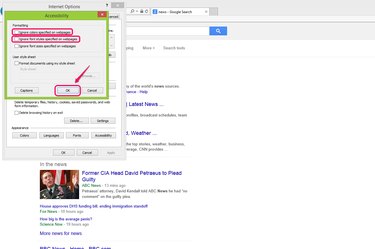
Check the boxes for "Ignore colors specified on webpages" and "Ignore font styles specified on webpages" in the Formatting section so that your chosen color scheme can be applied. This allows your browser to ignore the HTML and CSS color specifications of each website and apply your specifications. Click "OK" to continue.
Step 4
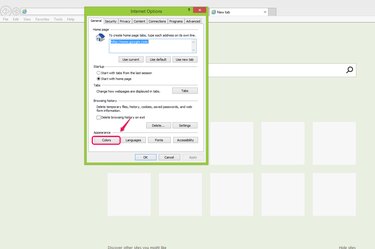
Click "Colors" in the Appearance section of the "Internet options" dialog box.
Step 5
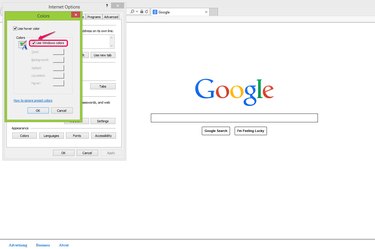
Uncheck the "Use Windows colors" item to disable the default setting of the Windows system and enable your preferred color scheme. You can leave the "Use hover color" checked if you want to change the color of a clickable link when you hover your mouse over it.
Step 6
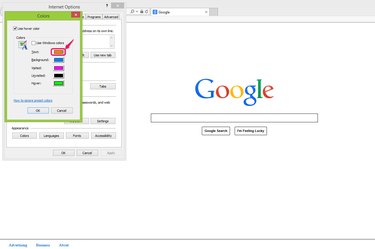
Click the color plan button to expand the color panel to set up the color for each feature. For example, "Text" lets you change the color of the text of Web pages; "Background" lets you change the color of the background of Web pages; "Visited" and "Unvisited" let you change the links that you've clicked or haven't clicked.
Step 7
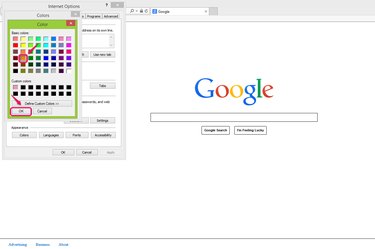
Choose a color from "Basic colors" that you prefer to use and click "OK" to confirm the setting. If you don't find any color that you like in "Basic colors," you can click "Define Custom Colors" to choose specific colors using their hex values.
Step 8
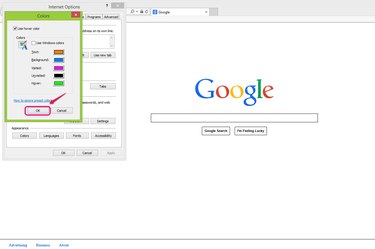
Click "OK" in the Colors window to confirm the changes.
Step 9
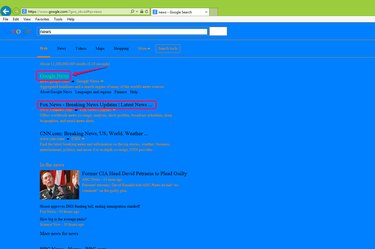
Visit a website to check the color scheme in your IE Web browser. For example, the hovered-over link is light green, the unvisited link is black and the background color is blue.
Step 10
Uncheck the boxes "Ignore colors specified on webpages" and "Ignore font styles specified on webpages" in the Formatting section of the Accessibility window if you want to change the colors back to the default settings.
Video of the Day