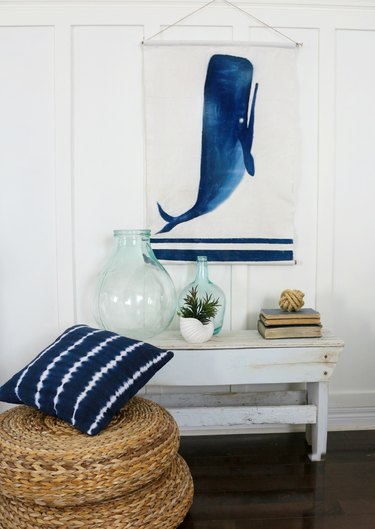
Rather than framed art or photos, spruce up an empty corner with a canvas wall hanging instead, which brings warmth and texture to your walls. This nautical-inspired design lends a beachy cottage look to any space and can be customized according to color preference.
Things You'll Need
Canvas or burlap measuring 2 1/2 feet by 4 1/2 feet
Painter's tape
Fabric paint
Palette or paper plate
Paintbrush
Sandpaper, medium grit
Iron
Hot glue or fabric glue
7/8-inch dowels, 2
2 eye hooks
Twine or cotton rope to hang
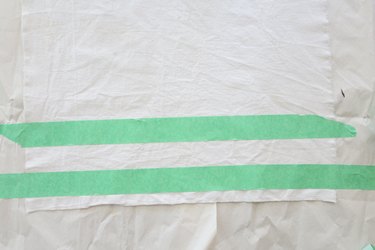
Step 1
Lay the canvas out vertically and form a stripe of desired thickness by covering two portions of fabric at the bottom with painter's tape.
Video of the Day
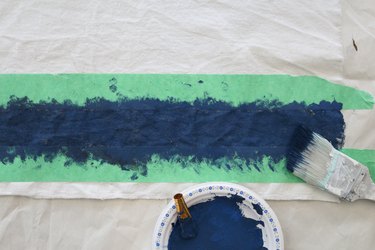
Step 2
Pour some fabric paint onto a palette or paper plate. Dip the paintbrush into the paint and use a dabbing motion to paint inside the taped surface.
Tip
Dab the brush onto a paper towel first to remove some of the excess paint. It's better to use a dabbing motion to apply the paint instead of brushstrokes. Add as many stripes as you like.
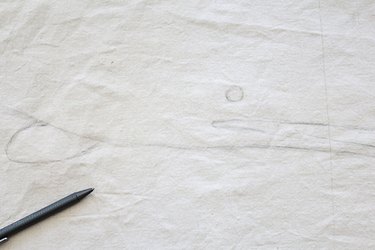
Step 3
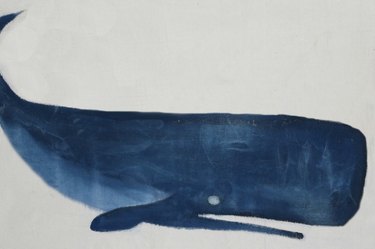
Print this whale template and enlarge it to your desired size (it measured approximately 30 inches from head to tail in this project). Cut out the template, place it vertically on the canvas, and lightly sketch around it with a pencil.
Step 4
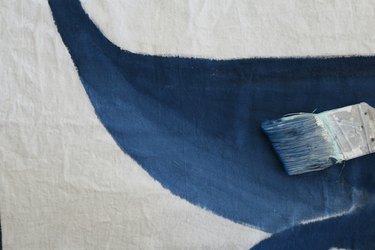
Use a dabbing motion to paint inside of the whale, leaving the underbelly and eye unpainted.
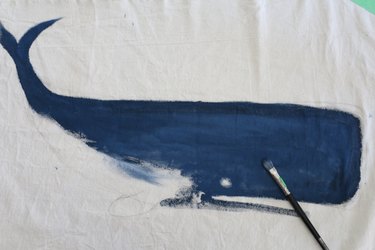
Step 5
Using the same brush, water down the paint slightly and continue to brush the rest of the whale, leaving a slight margin between the fin and the underbelly. The difference in color creates contrast and allows the fin to stand out. Allow the paint to dry thoroughly.
Step 6
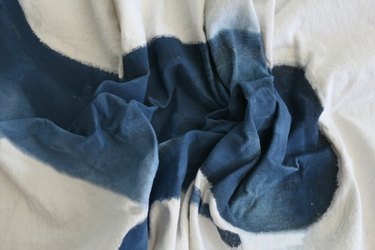
Scrunch up the fabric to give the whale texture and movement by creating wrinkles.
Step 7
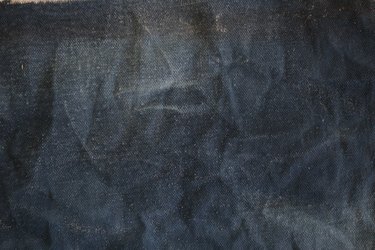
Create additional texture by distressing the fabric with sandpaper. This creates a worn out look to the canvas.
Step 8
Iron the blank canvas around the whale.
Step 9
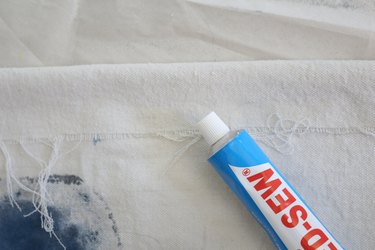
Make a seam at the top of the canvas that is big enough for the dowel to fit through by folding the top edge of the canvas over and gluing it with fabric glue or hot glue. Repeat this process at the bottom of the canvas.
Step 10
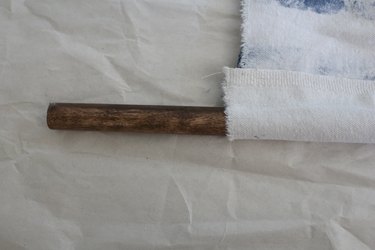
Slide a dowel through the top and bottom seams.
Step 11
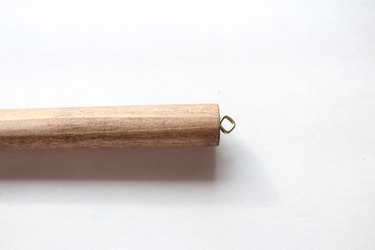
Screw an eye hook onto each end of the top dowel.
Step 12
Thread twine or cotton rope through the eye hooks and tie to form a knot at each hook.

Hang the finished tapestry on a wall and style with sea glass, rope and shells to create a maritime look.

Video of the Day