
Comfort Vs. Cruiser Bicycles
Unlike road bikes with their extreme forward leaning stance, comfort and cruiser bikes provide a good compromise with their upright riding position and their increased stability. Comfort and cruiser bikes are stable with slightly thicker frames that are often stylized for an aesthetic appeal. Both bikes are well-suited for commuters and casual riders, but their individual differences will make them more suitable for different terrains and riding needs.
Cruiser Bicycles
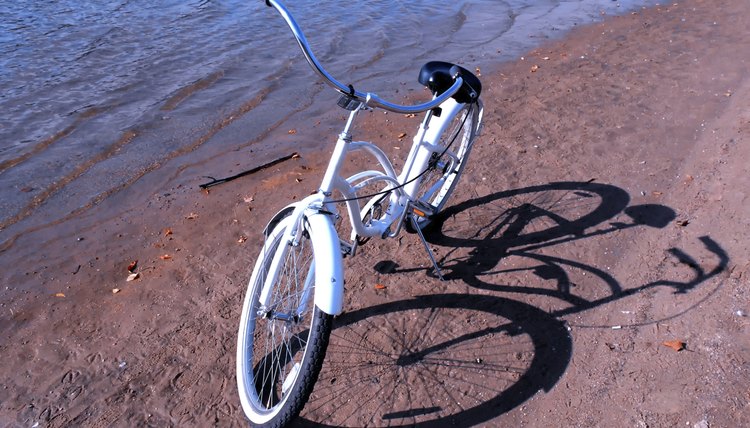
Also known as beach cruisers, cruiser bikes were popularized before the 1950s and have recently seen a resurgence in popularity. Featuring long handlebars, a longer wheelbase and often a well-cushioned seat that was either wider or longer, cruiser bikes give the rider an upright position. With the wider wheelbase and the slightly thicker tires, cruiser bikes are known for their stability and work especially well on sand and gravel paths. Cruiser bikes are most commonly single speed and many people accessorize their bikes with handlebar ribbons and front baskets.
Comfort Bicycle
Comfort bikes, like cruiser bikes, also feature an upright riding position. However, the frame is closer to that of the mountain bike and are similar to hybrid bikes, where details of mountain and road bikes are combined. Comfort bicycles have 26-inch size wheels with thicker-treaded tires than a road bike and have more than one speed. They also have suspension forks and sometimes also a seat post, so bumps from the road are less abrasive. Comfort bikes also sit lower to the ground, and a rider’s feet can easily be placed flat on the ground while sitting on the seat. Unlike cruiser bikes, comfort bikes more commonly feature a wide seat with extra cushioning; the banana seat is not as common.
Comparing the Two
Cruiser bicycles are stylish, and their silhouette is distinctive and iconic. However, of the two, the versatility of the comfort bike -- the suspension forks, the seat post, the extra speeds -- make it a more versatile transportation choice. In turn, cruiser bikes are simpler to maintain as they have less parts. In some cases, the chain may be encased in an internal hub, so maintenance is not required at all. However, both bicycles are comfortable to ride and provide extra stability for new or part-time riders. The upright position of both bikes also makes them useful for conducting short errands or gentle exercise.
Making a Choice
Deciding on a comfort or cruiser bicycle will depend largely on your personal preference and needs. If you live in a relatively flat area or near a beach and your bike will be used for short trips and errands only, a cruiser bike may perfectly suit your needs. The low-maintenance needs of a cruiser bike will also make it the more economical option. But if you live in an area with varied terrain, an area that is hillier, or you need to travel at faster speeds for greater distances, then the comfort bike is a better fit. If you can, test ride both types of bike before deciding based on what you felt most comfortable riding and what will best meet your bicycle needs.
References
Writer Bio
Lana Billings-Smith has been writing professionally since 1997. She has been published in the "Montreal Gazette" and the "National Post." She also teaches and lectures at McGill University. A certified personal trainer, she holds a Bachelor of Arts with a specialization in leisure sciences and a minor in therapeutic recreation.