Boating
Camping
Electronics
Fishing
General Maintenance
Hunting
RVing
Trailers & Towing
General Maintenance
General Maintenance
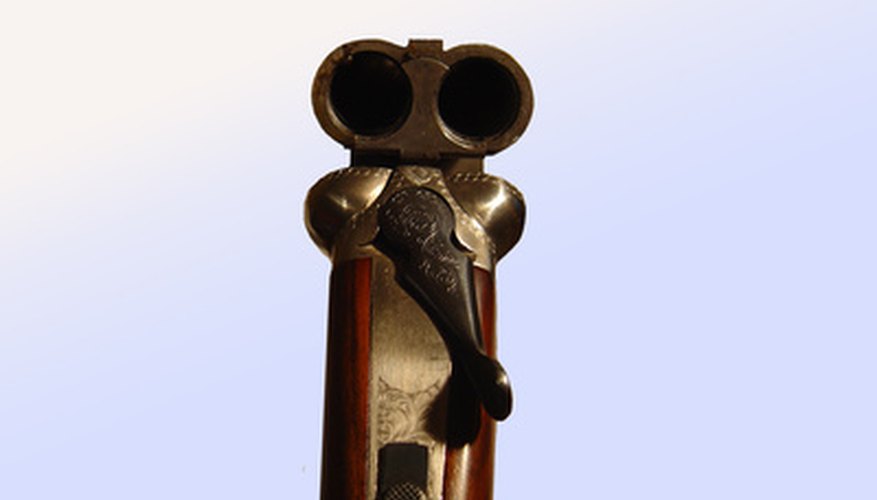
What Does Bore Diameter Mean?
What to Wear for a Polar Plunge
What Type of Oil to use in a Polaris Phoenix 200
How to Turn a 9.9 HP Outboard Into a 15 HP Motor
How to Get Scuff Marks Off of a Motorcycle Helmet
How to Replace the Barrel on a Ruger Super Blackhawk
How to Remove the Bolt From a Cricket 22
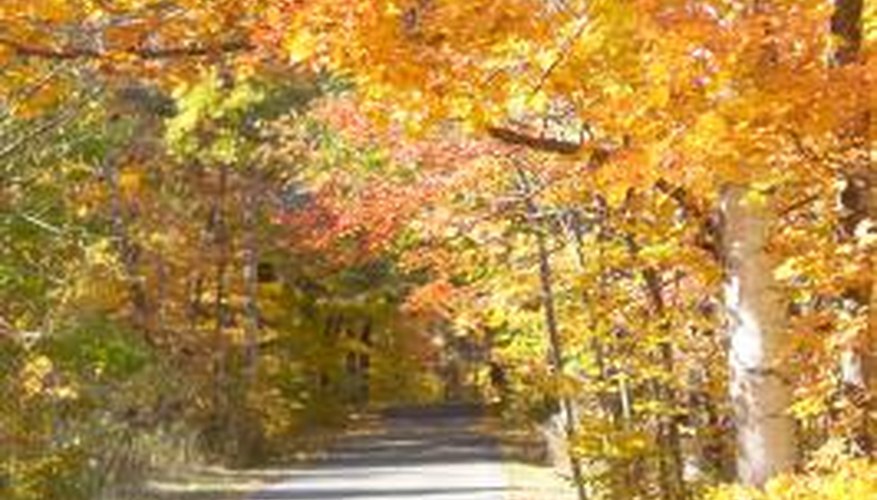
Explore America's Campgrounds
Gone Outdoors
Regulations for Photography on Military Installations
Gone Outdoors
How to Properly Install a Rifle Sling
General Maintenance
What Materials Are Used to Make Walking Trails?
Gone Outdoors
How to Make Waterproof Socks
Gone Outdoors
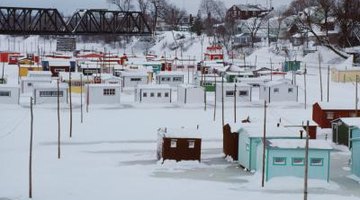
How to Make Skis for an Ice Shanty
General Maintenance
How to Make RV Sewer Pipe From PVC Pipe
General Maintenance
How to Make a Pheasant Trap
General Maintenance
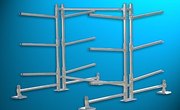
How to Build a DIY Wooden Kayak Rack
General Maintenance
How to Make a Fiberglass Slide
General Maintenance
How Long Does it Take for Skunk Smell to Go Away?
General Maintenance
How Long Does It Take to Rollerblade One Mile?
General Maintenance
How to Keep Your Heel From Rubbing in a Boot
General Maintenance
Kawasaki 440A Engine Specs