Speaker systems are commonly used yet also commonly misunderstood. Fortunately, changes that run the gamut from big to small can make a huge difference in the way your speakers sound. Follow these instructions and you will have your stereo system thundering.
Step 1
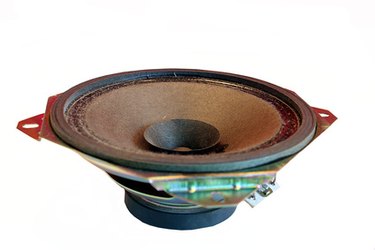
Think about what kind of enclosure the speaker is and follow the logic of the relation between speaker box size and bass output. The larger the speaker box is in relation to the diameter of the speaker, the deeper the bass output will be. Put another way, the smaller the box is in relation to the driver, the less deep the bass output will be. So consider buying a larger box.
Video of the Day
Step 2
Amplifying the bass with a better amplifier is another area to explore. Check out the specifications for the speaker; it should say what kind of wattage is the optimal range. Check your stereo's amplifier to see if it matches that number. Running a speaker with the correct wattage pushes it to its prime level of performance and sound.
Step 3
Placement of the speaker in the room can have a large effect on the way it sounds. If it is connected to the TV sound system, try moving the speaker to different areas of the room and testing how it sounds from where you sit when watching the TV. Bass is omnidirectional, so it may not matter which direction the speaker is facing but rather how it resonates with the acoustics of the room.
Video of the Day