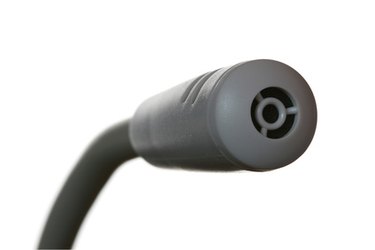
Computers can be used for everything from editing photos and typing documents to producing music or movies. As the world goes increasingly onto the computer, so have microphones, which now come in an easy-to-install and easy-to-use form specifically for computer use. There are various USB microphones from which to choose, all with individual strengths and features. So before buying a USB microphone, consider its primary function, to ensure that you get the sound quality that is best for your needs.
Installing a USB Microphone
Video of the Day
Step 1
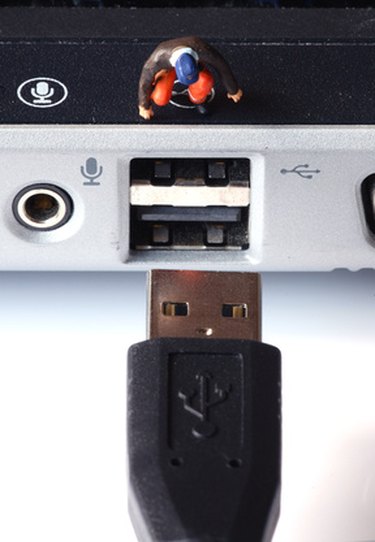
Plug the USB cable from the microphone into the USB port on the computer. On most desktop computers there will be one or two ports on the front of the unit and a few more on the back. On most laptops the ports will be situated on the left or right side of the laptop.
Video of the Day
Step 2
Wait for the computer to automatically detect the microphone. USB equipment is designed to "Plug and Play," so in the majority of cases no installation will be required. At the bottom right-hand corner of the computer monitor there will be a small pop-up window to show the installation progress; you will be notified if installation is required.
Step 3
Insert the installation disc if necessary. This will open a new window that will guide you through the installation process step by step. If you are new to installations, select the recommended options, which will be displayed with a "(Recommended)" next to the option.
Testing the USB Microphone
Step 1
Switch the microphone on if it has an on/off button.
Step 2
Open the computer's "Start Menu" by clicking on the green "Start" button in the bottom left corner.
Step 3
Select "Programs" or "All Programs," which will open a new menu. Select "Accessories", followed by "Entertainment," and finally select "Sound Recorder," which will open a new window.
Step 4
Click on the "Record" button at the bottom right of the box and start talking into the microphone. Click on the "Stop" button on the left of the "Record" button as soon as you are finished recording a short sound clip.
Step 5
Click the "Play" button left of the "Stop" button to listen to the recording and the sound quality.
Step 6
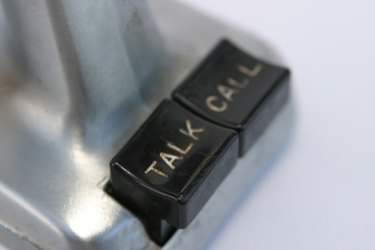
Phone one of your friends or other contacts with a messenger or talk program if possible, and ask the contact to confirm the sound quality.
Uses of a USB Microphone
Step 1
Use the microphone to talk to others through messenger or talk programs.
Step 2
Use the microphone to record music if the quality is good enough. Look for independent product reviews before buying a microphone if you require a high sound quality.
Step 3
Use the microphone to record audio for videos, slide shows or podcasts.
Step 4
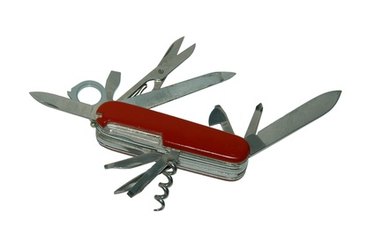
Use the microphone with certain computer programs that allow microphone use. Such programs include photo-editing programs with the ability to add voice notes, or typing programs with the ability to translate speech into text.
Step 5
Use the microphone for gaming. Many online games can be played with a microphone, allowing the gamer to speak to other gamers involved in the game.
USB Microphone Settings
Step 1
Double click on the "Volume" icon in the bottom right-hand corner of the computer screen, next to the computer clock. This will open a "Volume Control" box.
Step 2
Find the "Mic" section, which will be the main volume control for the microphone. If the "Mic" section is not available, click on "Options" in the top left corner, followed by "Properties." At the bottom of the new box there will be a list of items labeled "Show the following volume controls." Find the "Mic" option in this list and make sure it is selected. Then click "OK."
Step 3
Slide the volume control on the "Mic" section and make sure that "Muted" is not selected at the bottom.
Step 4
Close the "Volume Control" box once you are finished setting the volume for the microphone and test the microphone with the recording program, as described in Section 2.