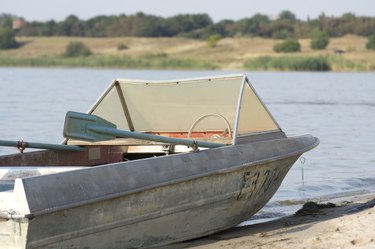
Aluminum is a lightweight, structurally sound medium that can be used in various applications. One use for this versatile metal is boats, and a hole in a boat is not going to make for a good fishing trip. Before getting your feet wet in despair, there are some great breakthroughs in technology that can help keep your head above water. With some basic skills and some tools for brazing that are easily acquired at a local hardware store, that hole in your johnboat will be easily repaired without a trip to the local welding shop.
Difference Between Welding and Brazing
Video of the Day
Aluminum brazing is not the same as aluminum welding. Both require heat, but that is where the similarities end. Brazing does not require anything more than a good torch from the local hardware store in addition to the filler rod. Welding requires a very expensive welding machine and a great deal of skill. Aluminum brazing is simply heating up the damaged area and filling it with aluminum filler. Welding is a fabrication process that fuses two metal pieces together, typically using electrical current as a heat source and filler rod that melts at different temperatures than aluminum brazing rod.
Video of the Day
Cleaning for Success
Both welding and brazing require the area around the crack or hole to be clean and free of any paint, oil, or grease. This step is most vital for the success of your project. Any contaminants will keep the melted aluminum filler from adhering to the area to be repaired.
- First put on gloves, hearing protection, and eye protection.
- With a sanding disc or wire brush in either an angle grinder or a drill, remove the paint to reveal the bare metal. Do not be shy; thoroughly remove all paint around the area to be repaired, including a few inches from the surrounding area. Whatever you do, do not dig too deep into the aluminum, as this can cause a bigger problem.
- Clean the area to be repaired with isopropyl alcohol or any degreaser that will not leave a greasy residue. This will assure that the area is free from contaminants, like grease and oils.
- Repeat for all areas causing wet feet.
Repairing Holes in Aluminum
Aluminum brazing requires the metal to get very hot — around 720 to 750 degrees Fahrenheit. Although propane does heat up aluminum to these temperatures, it may take a significant amount of time compared to MAPP gas, which is a blend of propane and acetylene gas that burns much hotter, in turn decreasing your heating time. It is always a good idea to read and follow the instructions for your specific aluminum brazing kit.
Make sure you take good safety precautions and protect yourself using all-leather gloves. Do not use gloves that can melt to your skin, such as mechanics' gloves that are only partially leather with a cotton or flexible backing.
- Using the torch, heat the surrounding aluminum. This prepares it to receive the filling material. Keep the area warm.
- Heat one end of the aluminum filler rod. Dip the heated end of the aluminum rod into aluminum welding flux. The flux should stick to the rod; if it does not, warm the rod a little more. Flux keeps the area to be repaired clean and helps the aluminum bond while keeping oxides from forming during the brazing process. Allow the flux paste to melt off the rod onto the area to be repaired. When the flux liquifies, it is ready to add the rod.
- Continue heating the area until the aluminum rod flows. Some aluminum rods may flow at lower temperatures so be mindful not to overheat the rod. Dip the rod into flux as you add more filler rod. You cannot have too much flux.
- Allow the melted aluminum to flow into the hole.
- Continue to fill in the hole or crack and smooth it out by melting the filler and heating the area to obtain a flush finish product. Do not overheat and cause the filler to fall out. This may take some finesse to obtain the finish you desire.
- After you are satisfied with your work, let the area cool and clean the area with a stainless steel wire brush for a clean finish. This will remove any burn marks or discoloration of the aluminum.
- Wipe the area clean with water. This will help prevent corrosion or oxidation that can build up and will clean off any flux that may still be present.
- Inspect the repaired area for pinholes and repeat the process to ensure dry feet.
The final test is to launch the boat or soak your work and check for a watertight repair.