Steel studs are beneficial for building ceilings because they are straight, light and can be purchased in longer lengths than wood studs. For low clearance areas, they also come in 1 5/8 inch widths. In many applications, installing a steel stud ceiling take less time and effort than it would with wood studs. Many people shy away from steel studs because they are unfamiliar with them. After you learn how to frame with steel studs, incorporating them into your other construction projects becomes easier.
Step 1
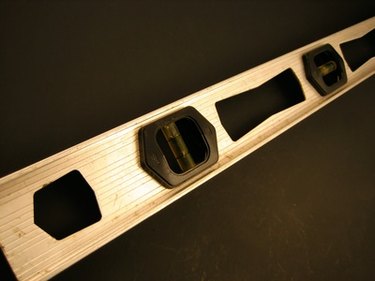
Mark a level line around the room at the desired height to install the ceiling. A laser level works best, but a 4-foot level will get the job done.
Video of the Day
Step 2
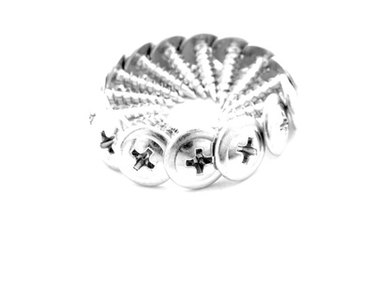
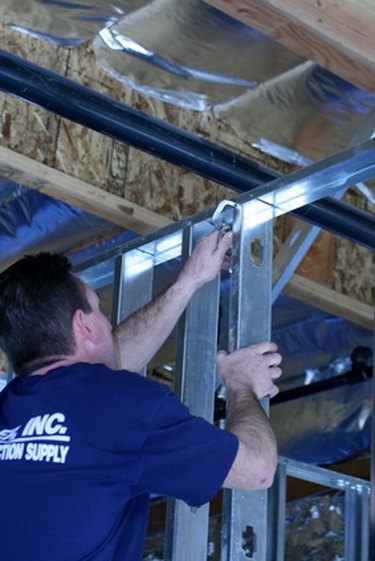
Screw a track on the longest wall with 1/2-inch pan head screws and then screw another track on the opposite wall. Track is used as a channel to hold the studs. If your walls are made of wood, then use 1 1/4 inch drywall screws to attach the track to the studs.
Step 3

With a permanent marker, layout the studs for the ceiling every 16 inches. Normally, the center of the studs are marked, but you can mark the sides also.
Step 4
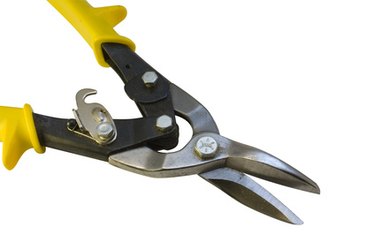
Cut the studs with a tin snips or metal chop box half an inch shorter than the distance between the tracks to allow for irregularities in the walls. If you are using a metal chop box, up to 10 studs or tracks can be cut at one time.
Step 5
Insert the studs into the tracks (called stuffing the studs) and attach the steel studs to the tracks with one 1/2-inch pan head screw on the ends. Use a locking C-clamp to hold the stud to the track during this process.
Video of the Day