Things You'll Need
Scissors (or a craft knife)
Glue (or double-sided tape)
A backing material, such as cardboard, wood, canvas, etc.
Magazines, new and/or old
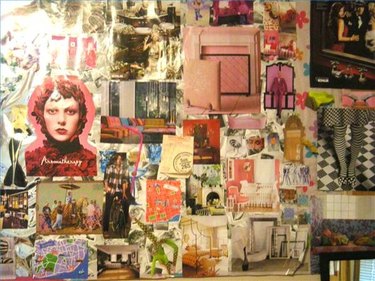
Do you have a lot of old magazines lying around your house? Do you not want to throw them away? Making collage art using magazine photographs is a great way to put those old magazines to use. Making a collage is relatively simple and does not take a lot of time. Make an interesting, visually stimulating collage by using what you already have.
Step 1
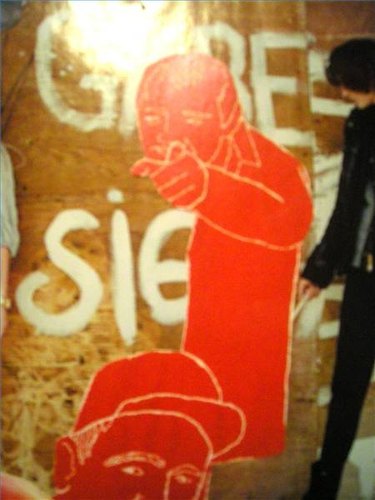
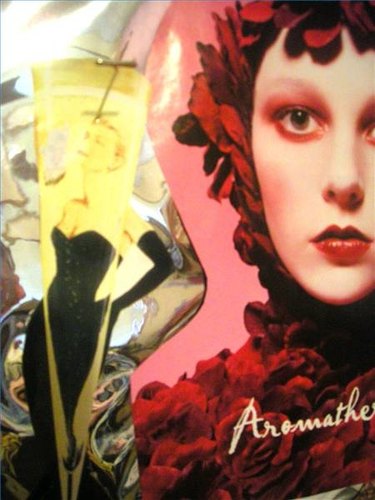
Find images. Flip through your magazines, looking for pictures you find interesting and visually stimulating. The images you pick can have a common theme, or not. For example, you can choose images of different types of safari animals, or just of people or of architecture. Even if you are making a smaller collage, do not let this limit how many images you cut out of the magazines. Cut out a lot of images so that you have more options at your disposal.
Video of the Day
Step 2
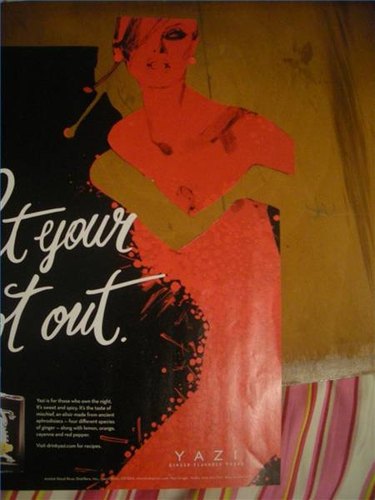
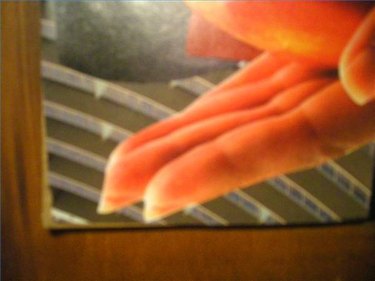
For a more visually interesting collage, don't just cut the images into squares or rectangles on the page. Instead, follow the lines in the photograph. For example, if you are cutting an image that has a road in it, cut along the dotted lines of the road as opposed to including the whole road in the photograph. You can also cut on the shadows of a person's face. Don't be afraid to cut off legs, heads or arms.
Step 3
Find a background. After you have your main images, flip through the magazines again to find pictures that would work well as a background. These background pictures can be a solid color, or they can be a pattern. Background images aren't necessary, but it hides the backing material.
Step 4
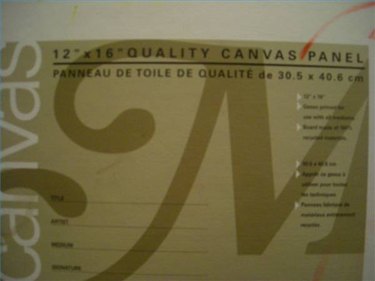
Choose your backing material. Once you have cut out all your images, choose a material to affix these images to. It could be a piece of cut cardboard; it could be a canvas from a craft store; it could be a piece of wood; it could be just a bare wall. A canvas adds a three-dimensional look to your collage, as it will stand off of the wall.
Step 5
Decide how you want to lay your images out. You have a few options of how to do this: a. You can overlap the images b. You can fit the images together like a puzzle c. You can space them apart For the overlapping or jigsaw style, it is helpful to have a solid background to cover the canvas or cardboard backing you are using. To cover a large area of the backing, use using wrapping paper, scrapbook paper or construction paper. This uses more space and saves you time in covering a large area of backing.
Step 6
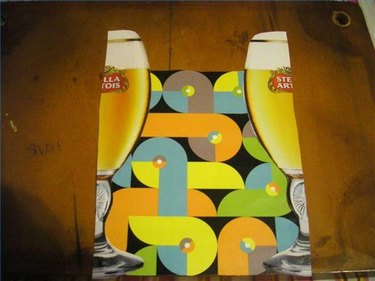
Begin to piece the images together. Lay your backing material on the ground so that you have a flat surface. Next, lay your background on your backing material. If you are using wrapping paper, lay that down. If you are using simple patterned images, lay those down first.
Step 7
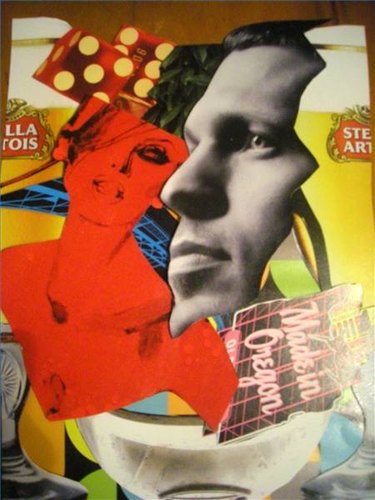
Start to arrange your main images on top of the patterned ones. Do not glue or tape down the images until you are sure that is where you want them. Once you have covered the whole backing material with images and are sure of the placement of each image, you are ready to affix them. Glue or tape the images down.
Tip
Forget any inhibitions you may have. Inhibition is the enemy to creating anything.
Video of the Day