bahadir-yeniceri/iStock/Getty Images
One of the many advantages of having an informal wedding is dispensing with tired invitation traditions, such as having an inner envelope, hiring a calligrapher to address your invitations and using language such as “Mrs. Jane and Mr. John Smith.” However, when stepping away from formal etiquette, you still want to make sure you don’t cause confusion or hurt feelings.
Conveying Informality
Dispense with “Mr. and Mrs. John Smith” and “Mr. and Mrs. John and Jane Smith.” Both are correct but perhaps too formal.
Put the woman's name first. So write “Jane and John Smith” or “Jane Jones and John Smith.” If you are inviting their children, each child’s name goes on a separate line below the parents’ names. This also saves you from having to list them on an inside envelope. It’s also fine to write “The John Smith Family” or “The Jane and John Smith Family” if you are inviting all the children.
Send separate invitations to partners who are not living together even if they are engaged. If you are close with only one partner who happens to be in a relationship, address the invitation to both partners -- Jane Smith and Burton Jones -- but send the invitation to the person you know well.
Do not feel obligated to allow a friend to bring a guest you don’t know. You may want to talk to the friend before you send the invitation to explain that you just want her, and that there will be plenty of people she knows at the wedding. If you do allow a guest, write “Jane Smith and Guest” on the invitation.
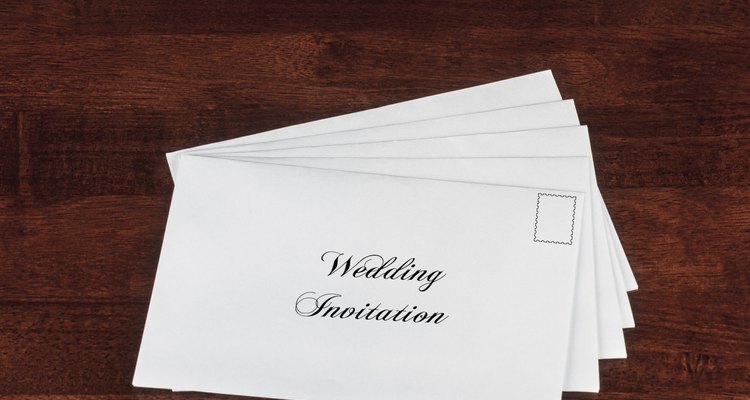
Write out “Street” or “Avenue,” and don't abbreviate the state name. This isn't a rule, it just looks better. It also looks better to put your return address on the back of the envelope.
Use the type of stationery and the stamp to convey the informality of the event, or if you have a theme, the U.S. Post Office has a variety of stamps available online. You should still take your full invitation to the post office to ensure you have enough postage, particularly if you are including an inner envelope.
Related Articles

Wedding Etiquette for Name Order

How to Address a Card for a Wedding Gift

Etiquette on Addressing Guests in ...
How to Address Invitations With No ...

How Do You Address Wedding Invitations ...

Thank You Note Etiquette for Envelopes
Etiquette for Addressing Formal ...

Protocol for a Niece's Shower & Wedding ...

How to Word an Invitation for a Female ...

Wedding Etiquette for a No Gifts ...

How to Address Bridal Shower Invitations

Etiquette for Save the Date Envelopes

How to Send Thank You Notes for a ...

When Should I Send Bridal Shower ...

Etiquette for Wedding Invitations When ...

The Etiquette for Addressing Wedding ...

Etiquette for Addressing Wedding ...

Wedding Card Etiquette

Wedding Gift Check Etiquette
The Standard Size for Wedding ...
References
Writer Bio
Nate Lee was senior editor of Chicago's "NewCity" newspaper and creative director in a global advertising agency. A playwright and published poet, Lee writes about the arts, culture and business innovation. He received his Bachelor of Arts in English from Tulane University.
Photo Credits
bahadir-yeniceri/iStock/Getty Images