Things You'll Need
Razor knife
Pencil
Ruler
Waterproof caulk
Scraper blade tool
Mild detergent
Water
Broom
Dustpan
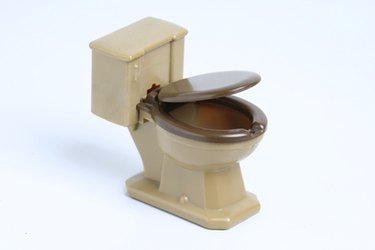
Self-stick vinyl tiles provide a quick way to update the flooring in virtually any room in your home. This affordable floor covering comes in a variety of sizes, but 12 by 12 inches is the most common. Self-stick tiles are sold by the case and come with pressure-sensitive adhesive already applied to the back of the tile. One of the most challenging aspecst of installing self-stick tiles is getting the tiles to fit around a fixture such as a toilet.
Step 1
Remove any old floor covering or prepare the surface to lay self-stick tile on old floor covering. Self-stick tiles can be installed on top of other vinyl, wood or concrete flooring as long as the surface is clean and level. Thoroughly clean the surface with a mild detergent and water. Using a scraper blade, scrape away any old adhesive and sealants. Sweep away any debris with a broom and dustpan.
Video of the Day
Step 2
Install the tile in the manner suggested by the manufacturer. There are different plans for installation depending on the size and design of your tile. Generally, recommended installation suggests to begin by finding the center of the room and working outward toward the walls. When you reach obstacles, such as a toilet, make a template and cut tiles to fit, using a razor knife.
Step 3
Make a pattern for the tiles around the toilet. Begin by measuring the space between the nearest full tiles and the toilet. Transfer these measurements onto one of your scrap backing papers from your tile. Cut out the pattern and make adjustments until you achieve a perfect fit. Repeat this pattern-making process for all remaining tiles needed to complete the installation around the toilet.
Step 4
Trace the patterns onto tiles, using a pencil. Cut out the tiles along the lines and install according to the manufacturer's instructions. To complete the installation, seal the seam between the tile and the toilet with a thin bead of waterproof caulking.
Tip
Allow your new tile 48 hours to reach room temperature before installation. Read and follow all manufacturer instructions included with your tile regarding preparation and installation.
Video of the Day