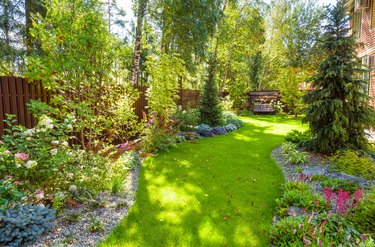
Landscaping with rocks around trees improves the yard's appearance with a natural material. Almost half of a household's water use goes for watering grass and landscaping; mulching with rock conserves water. Spreading small rocks around trees serves as an inorganic mulch, inhibiting weeds, insulating roots and conserving moisture.
Compared with organic matter such as compost, rocks last season after season and provide a decorative element to the home landscape. Landscaping with rocks also reduces yard maintenance and protects trees and roots from mowers.
Video of the Day
Video of the Day
Landscaping With Rocks Around Trees
Step 1: Plan Your Landscaped Area
Sketch out the area around the tree to create your rock landscape design. Creating a border of large rocks or brick pavers helps define the landscaped area. Small rocks, such as lava rock, pea gravel or river rock, work well as mulch inside the rock border. Use this plan to help you choose the rocks you need.
Step 2: Choose Landscaping Rocks
Select the kinds of rocks for the landscape. Consider color, texture and weight. For example, lava rock has the advantages of being light and porous, allowing air and moisture to reach the tree roots. Choose red to add color to the landscape.
Step 3: Buy Rocks and Accents
Buy rocks as mulch, accent boulders and some decorative rocks to add a rock garden feature, if desired. Creating contrast improves the appearance of the yard. If the area with the trees is plain, select some colorful rocks. To highlight colorful plants, choose simple rocks in gray, black or tan, based on what goes well with the house and fence.
Step 4: Mark the Landscaped Area
Measure from the tree trunk outward to 6 feet and place a stone or make a mark with your shoe. Repeat at four or more locations around the tree.
Step 5: Cut Landscape Fabric
Measure the diameter of the circle from a mark on one side of the tree to a mark on the other. Cut the landscape fabric to this size. Fold the landscape fabric in half and cut half-way up the fold from the edge to the center. Cut a circle out of the center for the tree trunk, adding several inches to the circle to allow for the tree's growth and to keep the fabric off the trunk.
Step 6: Install Landscape Fabric
Spread the landscape fabric around the tree. Use landscape staples to hold the fabric in place.
Step 7: Create a Rock Border
Build a rock border to contain the mulch. Dig a trench 1 to 2 inches deep around the tree along the marks to seat the rocks, being careful not to damage too many tree roots. Make the trench the same width as the average width of the border rocks, for example, 6 inches.
Step 8: Position Border Rocks
Arrange the rocks side by side along the trench. Build the border out of matching rocks or alternate colors or create a pattern. For example, set a pattern of four red lava rocks then one black lava rock continuing around the tree to surround a ring of black lava rock mulch.
Step 9: Add Landscape Mulch
Pour landscape mulch rock into the circle around the tree. If you have a wheelbarrow, push it to the rock border and raise the handles to dump the load of mulch. Otherwise, dump it from a bag or bin.