The Church of Latter-Day Saints, or LDS Church, encourages its members to stock in a three-month supply of food and water, along with financial savings in case of emergency or hardship. These recommendations are used not only by LDS members, but by people all over the world who are concerned about being prepared for natural disasters that may make it difficult for emergency supplies to reach people. Economic hardship is another reason to have food storage; supplies can be used in lieu of purchasing groceries until family finances have stabilized.
Financing Food Storage
If you have enough money to go out and purchase case lots of canned food and extra frozen items, you can build your food storage in a weekend. For most families, the cost of food storage is several thousand dollars.
Going into debt to purchase food storage is never recommended. Instead, begin purchasing extra food a little at a time during your weekly shopping. When items are on sale, stock up on extras. Build up your excess food storage until you have enough food to sustain your family for the recommended three months.
Buy What You Eat
The LDS Church recommends that you stock food items that your family typically eats. You should rotate your stock, adding to it when you grocery shop and using the food during your normal course of preparing meals. In this way, you are eating the food before it expires, yet have a three-month supply on hand at all times.
Storing Food
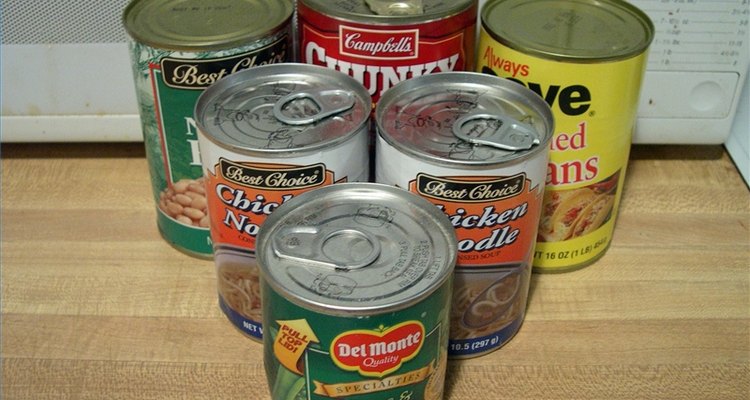
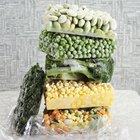
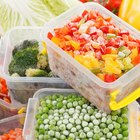
Non-perishable food should compose the bulk of your food storage; in a natural disaster, power may be lost and refrigerated and frozen food will quickly spoil. Canned goods will last for several years.
Many people who have canned food storage buy or build special shelving for the cans. Shelves that are tilted at an angle so that cans roll to the front are helpful to keep stock rotated. Store non-perishable foods in a cool, dry place. Dry items such as rice, flour and wheat should be stored in air-tight plastic canisters.
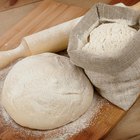
What to Buy
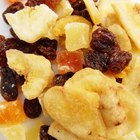
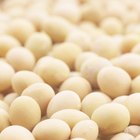
Think about nutritional needs when planning food storage; a three-month supply of gummy fruit snacks won't add much to your family's diet in a time of crisis. Instead, focus on foods that store well. Canned beans are a good source of protein, and can be eaten without heating. Peanut butter is another protein source that stores well. Canned vegetables and fruit are full of needed vitamins. Flour, sugar, salt and baking soda will come in handy for making bread or other pastry items and can be rotated and used on a regular basis. Other items to stock in include baby formula, powdered milk, protein powder and dehydrated foods such as beef jerky and dried fruit.
Water
Water is even more critical than food; you can live for more than a week without food, but only a few days without water. During a natural disaster or other emergency, the water supply may be polluted and undrinkable. According to FEMA, people require a half-gallon of drinking water per day, so plan according to the size of your family. Water should be stored in food-grade plastic containers or large drums and stored in a cool, dry location where it does not receive direct daylight. Rotate water storage the same as food storage.
Related Articles

How to Store 6 Months' Worth of Food ...
List of Water-Rich Foods

How Much Water Should I Drink With a ...

Environmental Impact of Disposable ...

Fruit & Water Diet

The Recommended Time to Shower to ...
How to Store Dehydrated Foods
Food for Primitive Camping
List of Ways to Conserve Mother Nature
How to Store Flours & Grains Without ...
List of Foods With a High Water Content
Hate Water? Here Are 5 Easy Ways to ...

How to Cook Frozen Dumplings With a ...
How to Feed a Large Family Healthy ...
How to Detox From Diet Coke
How Long Can Frozen Food Sit Out Before ...
Dehydrated Fruits & Vegetables ...
The Calories in Garbanzo Beans
Effective Ways of Recycling & Reducing ...
Longest Lasting Supermarket Foods for ...
References
Writer Bio
Cate Rushton has been a freelance writer since 1999, specializing in wildlife and outdoor activities. Her published works also cover relationships, gardening and travel on various websites. Rushton holds a Bachelor of Arts in English from the University of Utah.
Photo Credits
MorgueFile.com: sideshowmom