Things You'll Need
5/16-inch Allen wrench
Hammer or mallet
Flat head screwdriver
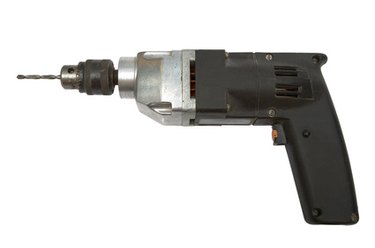
Sears Craftsman drills are reliable tools for your home shop. When you need to replace the drill chuck, be sure to purchase a chuck specifically for your Craftsman drill. Removing and installing a drill chuck is not difficult but it will require some tedious opening and closing of the drill chuck. A screw in the center of the drill chuck secures it to the drill spindle.
Step 1
Take the battery out of the Craftsman drill, if you have a cordless drill. If your drill is electric, disconnect the drill power cord from the electrical outlet
Video of the Day
Step 2
Place the directional switch into the center "Lock" position. The directional switch is in front of the trigger.
Step 3
Place the short end of a 5/16-inch Allen wrench into the chuck and tighten the chuck around the wrench with the chuck key.
Step 4
Tap the Allen wrench with a hammer or mallet to loosen the screw that secures the chuck to the drill. Use the chuck key to remove the drill chuck jaws away from the Allen wrench and open the chuck jaws all the way.
Step 5
Insert a small flat head screwdriver into the center of the drill chuck to remove the screw securing the chuck to the spindle. The screw has left-hand thread, which will require turning the screw in a clockwise direction.
Step 6
Insert the Allen wrench into the drill chuck again and tighten the chuck jaws around the Allen wrench. Turn the chuck counterclockwise by tapping the Allen wrench with a hammer. Once the chuck is loose, remove the Allen wrench and twist the chuck off by hand.
Step 7
Thread the new chuck over the drill spindle and open the chuck jaws. Insert the securing screw and tighten the screw with the flat head screwdriver. Turn the screw counterclockwise to tighten the screw.
Step 8
Insert the Allen wrench into the chuck and tighten the chuck jaws over the Allen wrench. Turn the chuck in a clockwise direction by tapping the Allen wrench with the hammer. Release the Allen wrench from the chuck and tighten the securing screw one more time with the flat head screwdriver.
Warning
Always disconnect power from tools before making repairs to them.
Video of the Day