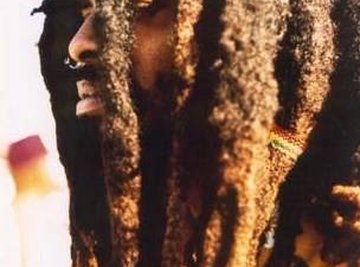
Even though hair comes in many colors and textures, it is all made of the same materials. The main ingredient of human hair is a protein called keratin, which is also found in human skin, teeth, fingernails and toenails. Hair also includes oils for texture and a chemical called melanin.
Keratin
Although keratin is very strong and rigid when thick, it can be very flexible when very thin. Keratin is a protein, which in turn is made up of amino acids and cysteine disulfide. The latter makes sulfur atoms form a firm structure called disulfide bridges. The levels of the amino acids and disulfide bridges determine what the hair will look like.
Types
Human hair is generally characterized by three types. The first is called lanugo and only grows on human fetuses. They form a whole body of fine hair at 12 weeks of age and then shed it when they are about 40 weeks old. The next type is called vellus and can be hard to see. This hair is only 2 cm long and is very thin and pale. Vellus hair grows on the chest and back and is often called "peach fuzz." The most common type of human hair is called terminal hair, which is the hair on your head and body.
Terminal Hair
An individual hair is called a follicle. A follicle begins under the skin with a base called a bulb. This supports the hair's root and sebaceous gland, which is also under the skin. From out of the root grows the hair shaft above the skin. The inside of the shaft is called the medulla. It's composed of a core made of a honeycomb of loose cells that contain glycogen and citrulline. Surrounding that core is a harder keratin-packed layer called the cortex. Over that is a layer of cells that give the hair its shine. It's called the cuticle. In the cortex and cuticle is melanin, which gives hair its color.
Misconceptions
Whether a person's hair is straight or curly depends not on the shape of the medulla, as once believed, but the shape of the entire follicle and the angle at which it grows out of the skin. Straight hair is grown at less of an angle and is flatter in shape. Curly hair is more oval-shaped and grows out at a steep angle.
Considerations
Many external substances can greatly affect the appearance of human hair, no matter what shape it is or what your genes have programmed it to do. Bad nutrition, harsh conditioners, dyes and constant use or curling irons can damage the hair's original condition.
About the Author
Rena Sherwood is a writer and Peter Gabriel fan who has lived in America and England. She has studied animals most of her life through direct observation and maintaining a personal library about pets. She has earned an associate degree in liberal arts from Delaware County Community College and a bachelor's degree in English from Millersville University.
Photo Credits
All humans have basically the same hair. Image from Wikimedia Commons.