
What Causes Ceramic Floor Tiles to Crack?

Table of Contents
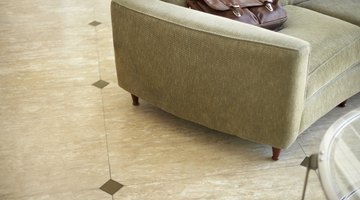
Ceramic tiles come in seemingly limitless sizes, colors and shapes. They are an economical, and often more durable, alternative to real stone and provide superior resistance to wear than other types of flooring materials, such as wood or carpet.

Ceramic tiles should not crack under normal usage, and, when they do, it is almost always due to improper subfloor conditions or improper installation. Knowing what can cause cracking can help to troubleshoot cracked tiles and lead to a better tile floor.
Inadequate Mortar
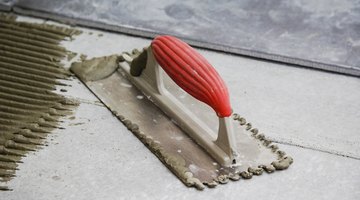
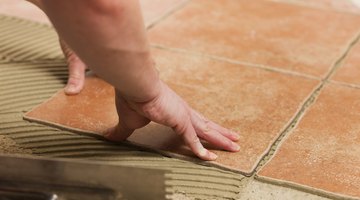
Ceramic floor tiles, especially larger tiles, need an even distribution of mortar underneath them. Voids in the mortar under the tile allow the tile to flex and crack. As a general rule, tiles larger than 12x12 inches should have mortar applied to the back of the tile as well as the floor to help ensure adequate coverage.
Improper Subfloor

Ceramic tile laid over plywood is more susceptible to cracking due to the flexible nature of the plywood. As the plywood under the tiles flexes, especially along floor joists, the flexing can cause the floor tiles to crack.
The best subfloor for ceramic tile is a mud bed, which is a specially prepared floor made of several inches of concrete reinforced with wire mesh. Where that is not possible, using a cement backer board over plywood can provide much of the same stability benefits of a mud bed.
Missing Underlayment
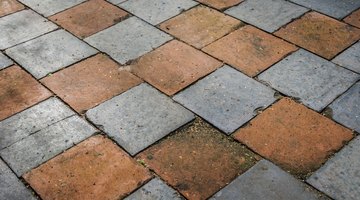
Tile installed directly on concrete floors will mirror any cracks in the floor. Once a tile is cemented in place with mortar, if the floor cracks, that crack will radiate up through the tile. Tiles laid over existing cracks usually crack due to uneven floor movement along the tile.
To counter this, apply an uncoupling membrane to the concrete before the tile is installed. This membrane bonds to the concrete floor and then bonds to the tile. The flexible membrane can accommodate movement in the floor without telegraphing it through the tile in the form of cracks.
Heavy Objects
While tile is generally more durable than wood, carpet or linoleum floors, dropping heavy or even hard objects on the tile can cause it to crack.
Faulty Tile
The overwhelming majority of tiles sold today have no manufacturer defects and will not crack if properly installed. Once in a while, however, you may run across a tile that was improperly fired or contains contaminants that weaken the strength of the tile, leading to cracking after the installation.
The Drip Cap
- Ceramic tiles come in seemingly limitless sizes, colors and shapes.
- Ceramic tiles should not crack under normal usage, and, when they do, it is almost always due to improper subfloor conditions or improper installation.
- To counter this, apply an uncoupling membrane to the concrete before the tile is installed.
- The flexible membrane can accommodate movement in the floor without telegraphing it through the tile in the form of cracks.
Writer Bio
Vance Holloman is a residential contractor and freelance writer living in Atlanta. Much of his writing centers on the expertise he has gained from two decades in the construction industry. His work has appeared in newspapers, magazines and numerous online sites, including eHow.com and "Auburn Plainsman." Holloman has a Master's degree in business from the University of Maryland.
Photo Credits
- Jupiterimages/Photos.com/Getty Images
- Jupiterimages/Photos.com/Getty Images
- Vstock LLC/VStock/Getty Images
- tinabelle/iStock/Getty Images
- kzenon/iStock/Getty Images
- Fuse/Fuse/Getty Images
- Marbury/iStock/Getty Images
More Articles