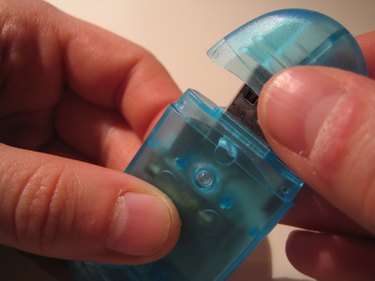
A flash drive is a removable storage device you can connect to your computer via a USB (universal serial bus) port. Also commonly referred to as thumb drives or pen drives, flash drives may get infected with the same viruses and malware that infect computers. Whereas computers get infected by visiting dubious websites, installing malware-riddled freeware programs and opening email attachments, flash drives pick up viruses when inserted into infected computers. Removing a virus from a flash drive entails deleting infected files by launching the command prompt, and scanning the device with a proven anti-virus software.
Step 1
Turn on the computer, wait for the operating system to load and insert the flash drive. The operating system will display a message asking what you want to do with the contents of the flash drive. Click "Cancel" to close the message.
Video of the Day
Step 2
Click "Start" and then "Run" to launch the Run command box. Type in 'cmd' and hit "Enter" to launch the Command Prompt. You will see a window appear with a black background, with a blinking cursor next to "C:"
Step 3
Minimize the Command Prompt window and go to "My Computer." Right click on the flash drive icon and check the drive letter assigned to the drive. On the Command Prompt window type in the drive letter and press "Enter." If your drive letter is "E," type in "E:" and then press "Enter."
Step 4
Display the list of files contained in the flash drive. In the Command Prompt, type in "dir /w/a". That is, 'dir-space-slash-w-slash-a'. This command will display all the files stored in the drive. Check whether the drive contains unfamiliar or suspicious files you did not put in it. Common signs of infection are the presence of files such as "Autorun.inf," "Ravmon.exe," "svchost.exe," and "Heap41a."
Step 5
Disable attributes of infected files. In Command Prompt, type in "attrib -r -a -s -h ." That is, 'attrib-space-dash-r-space-dash-a-space-dash-s-space-dash-h'. Press "Enter." This command will disable, in order, the 'read only,' 'archive,' 'system' and 'hidden' attributes of all files.
Step 6
Delete infected files. Type in "del samplefilename" to delete the named file from the flash drive. Replace 'samplefilename with the actual file name; for example, to delete "Autorun.inf," type in "del Autorun.inf." Remove all suspicious files individually and then close the Command Prompt.
Step 7
Scan the flash drive with an up-to-date anti-virus program. Check the program's virus definition before initiating a scan. If updates are available, download and install before scanning. Launch the anti-virus, specify the flash drive as the location to scan, and initiate a thorough scan. The scan report should show no identified infections.
Step 8
Eject the flash drive and plug into another computer. Check file contents from Command Prompt. The drive should not contain any suspicious files.
Video of the Day