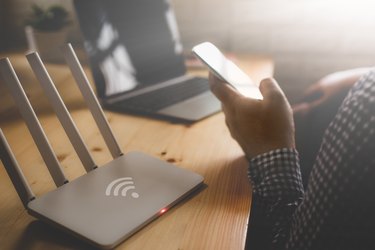
A WPA key is a password that you use to connect to a wireless network. You can get the WPA password from whoever runs the network. In some cases, a default WPA passphrase or password may be printed on a wireless router when you get it. If you can't determine the password on your router, you may be able to reset it.
How a WPA Key Works
Video of the Day
WPA stands for Wi-Fi protected access. There are three versions of the standard, which replaced an earlier, less secure system called wired equivalent privacy, or WEP. Whichever version your devices use, they generally require a password to get access to a wireless network. Once you have access, your communications are encrypted to prevent eavesdropping.
Video of the Day
WPA3, the latest version, provides the most security, including on public networks.
It's generally a good idea to only share your wireless password with people you trust, since they may be able to access your devices or spy on you.
How to Find WPA Keys
Generally if you're using a public Wi-Fi hot spot or one at a place where you do business, you can get the key from whoever runs the network. If you're at somebody's house, ask your host for the network password.
If it's your own network and you're not sure of the password, check on your wireless router. Often a default password or passphrase will be printed on the device and labeled something like "WPA Password" or "Network Security Key".
You'll often also see what's called an SSID number on the device. This is the default name for your network. Generally you can access your router's configuration options through a computer on your network and change the router name and password.
Resetting a Password
If you don't know your wireless network's password, you won't be able to connect to it. Luckily, you can often reset the password on your router if you forget or lose the password.
Often there is a button you can press on your router to restore it to factory settings, including its default password. The default password is either available in online manuals or printed on the device itself. Read your router's documentation or contact the manufacturer for help. If the default is the same across all units of your router model, you will want to change the password since someone else could easily guess it.
If you reset the router's password, any devices that have the password saved will also need to be reprogrammed, including computers, smart phones and devices like smart TVs. Set the password to one you're satisfied with and then reset any devices that need to connect to the router.