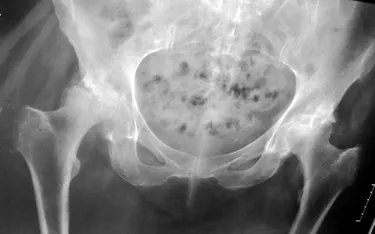
Digital Imaging and Communication in Medicine files, or Dicom (DCM) files, are specialized tagged Bitmap files formatted according to the DICOM standard for medical files. The Dicom file type is the format for digital radiology scans, and other medical digital images. The Audio Video Interleave (AVI) file type is a video formatted file. Microsoft originally created the Audio Video Interleave (AVI) file format in 1992 as a component of the Video for Windows standard. AVI files combine video with audio data to create one AVI package (file). To convert AVI files to the Dicom format, a Dicom-compatible video conversion utility is required. Several free, trial and shareware AVI-to-Dicom video conversion tools are available for download. DicomWorks, SanteSoft and DigiSoft provide free or trial versions of their products to convert AVI files to the Dicom format.
Convert AVI to Dicom using DicomWorks
Video of the Day
Step 1
Open a Web browser and navigate to the DicomWorks download page. (See Resources.) Download and install the DicomWorks tool.
Video of the Day
Step 2
Click the Windows "Start" button and select "DicomWorks" from the Programs list to launch the application.
Step 3
Click the "Import" button from the top navigation menu. A file navigation dialog box will appear.
Step 4
Navigate to and click on the AVI file to convert. Click the "Open" button. The AVI file will open in the DicomWorks application.
Step 5
Click the "Export" button from the top navigation bar. The "Main Export" wizard will launch.
Step 6
Click the drop-down box labeled "Source" and click "Selected File" from the drop-down list.
Step 7
Click the drop-down box labeled "File Format" and select the "Dicom (DCM)" file type from the list.
Step 8
Click the drop-down box labeled "Destination" and select "A Local Directory" from the list. A navigation window will appear.
Step 9
Navigate to and click on a location where the new Dicom file will be saved. Click the "Next" button. The AVI file will be converted to the Dicom format.
Step 10
Click the "Finish" button to close the wizard. The AVI file has now been converted to the Dicom format and saved in the specified Dicom output folder.
Converting AVI to Dicom using SanteSoft
Step 1
Open a Web browser and navigate to the SanteSoft Download page. (See Resources.) Download and install the SanteSoft Dicom utility.
Step 2
Click the Windows "Start" button and select "SanteSoft Imaging" from the Programs list to launch the application.
Step 3
Click the "File" link from the top navigation bar, and select the "Batch" option.
Step 4
Click "Convert Movies (AVI) to DICOM" from the Batch context menu. A file navigation dialog box will launch.
Step 5
Click the "Browse" button and navigate to and select the folder where the AVI file is stored in the file navigator.
Step 6
Click on the folder to select, and then click "Convert." All AVI files in the specified folder are converted to Dicom files and saved in the same folder as the original AVI files.
Converting AVI to Dicom using DigiSoft reViewMD
Step 1
Open a Web browser and navigate to the DigiSoft reViewMD download page. (See Resources.) Download and install the trial version of the software.
Step 2
Click the Windows "Start" button and select "DigiSoft reViewMD" from the Programs list to launch the application.
Step 3
Click the "File" option from the top navigation menu and select "Batch" from the File menu.
Step 4
Click the "Convert" option and select "AVI to Dicom" from the drop-down list. The file navigation window will appear.
Step 5
Click the "Browse" button and navigate to the folder containing the AVI file or files.
Step 6
Click on the folder to select and click the "Convert" button. All AVI files in the folder will be converted to Dicom files. The converted files will be saved in the selected AVI folder.