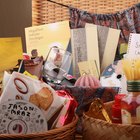
A pounding is an old-fashioned type of bridal shower in which guests give couples household items, such as food and cleaning supplies, to stock their pantries. This type of party or shower is recommended for people who are getting married at a young age and have not set up their own household yet, or for people who are struggling to pay for everything needed to start a new family. Traditionally, people would bring something extra that they had in their own pantries, but guests can also purchase a new item for the shower.
Make a Meal
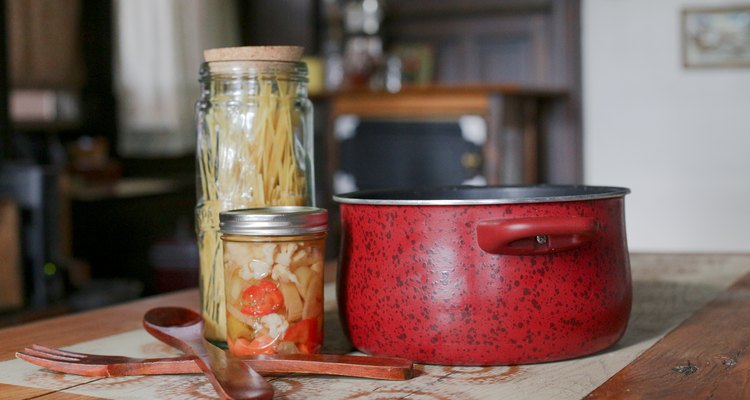
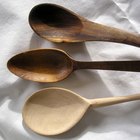
Think of the best meal that you can cook and purchase all of the nonperishable ingredients needed to create it. For example, if you like making spaghetti, purchase a package of dried pasta, cans of tomato sauce, dried herbs and a container of Parmesan cheese. Place the items inside a large pot for the couple and add your recipe for pasta sauce.
Food Themes
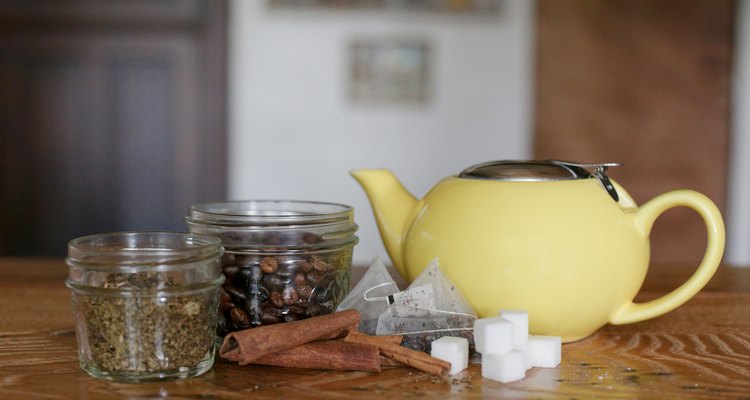
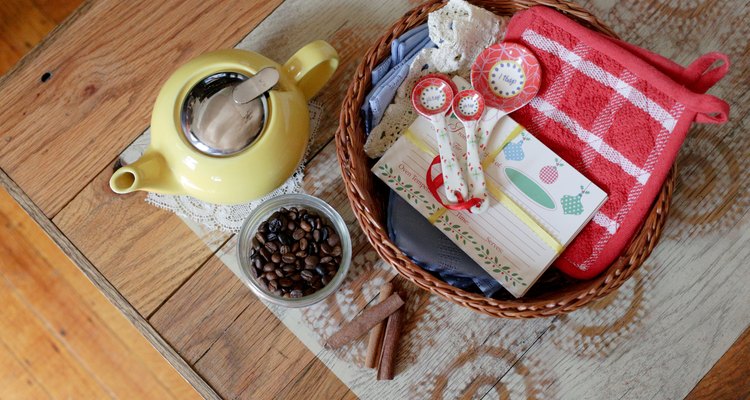
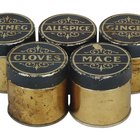
Give the people for whom you are throwing a pounding a certain type of food, based on things they either need or enjoy. For example, choose a variety of pantry items needed to make baked goods, such as vanilla flavoring, baking soda, baking powder, flour and sugar. Or, give a container of coffee, tea, sugar cubes, flavored syrups and filters. If you aren't sure which type of food goods they'll get the most use out of, give them a gift card for a local grocery store or a super store that sells food and department-store goods so the couple can pick items they need the most. A gift card also allows them to buy fresh foods, which may not be practical as a gift.
Cleaning Supplies
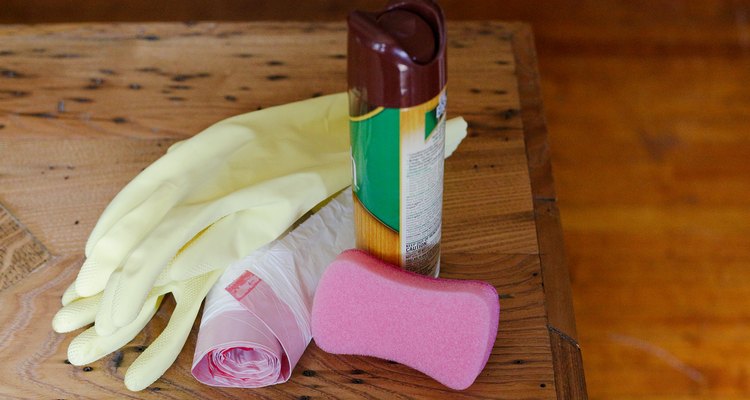
Cleaning supplies are necessities for every new household. Purchase a bucket and fill it with all sorts of items, such as bathroom cleaner, toilet brushes, kitchen spray, laundry detergent, dish washer detergent, carpet cleaner and floor cleaner. Add clothes, sponges and other items needed to clean a home. A mop, dust mop and broom with dustpan won't go to waste whether the home is a tiny apartment or a large house, or anything in between.
Stock the Closet
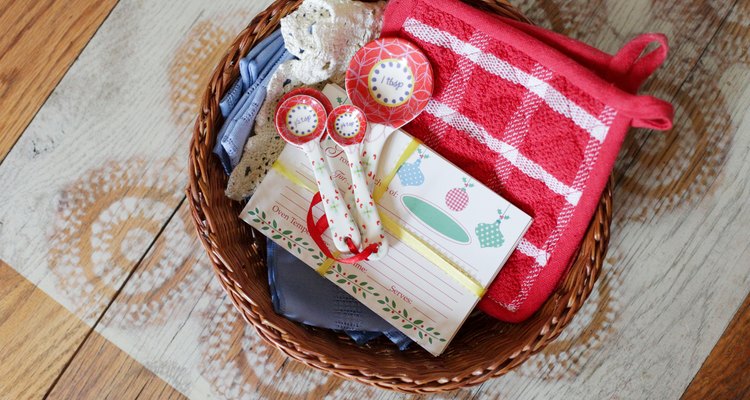
Little expenses add up quickly when buying things for a first home, so every gifted item you can provide is bound to be appreciated. Kitchen linens such as dish towels, hand towels and even potholders fill the drawers so the couple doesn't have to make a trip to the store upon realizing they don't yet own these things. Bath towels, a bath mat, hand towels and washcloths in colors that go with the couple's bathroom provide a much-needed bath- or shower-time resource.
Related Articles

What Are Appropriate Amish Wedding ...

Types of Bridal Showers

How to Make a Wine and Cheer Basket
Gift Basket Ideas for Couples
Pantry Shower Gift Ideas

Gift Ideas Made From Wedding Invitations

What Is the Proper Gift for People ...
Kitchen Shower Game Ideas
What Do Mothers Give Their Daughters at ...
Stock the Bar Party Gifts

How to Cater Your Own Party

What Is a Bridal Shower Wishing Well?

What Do I Purchase for My Uncle and ...

How to Feed a Large Family Healthy ...

Favor Ideas for a 75th Birthday Party

How to Make Care Packages for the ...

What to Bring to a Chili Dinner

First Anniversary Gifts for Couples
Wedding Gifts for a Third Marriage

Wedding Card Etiquette