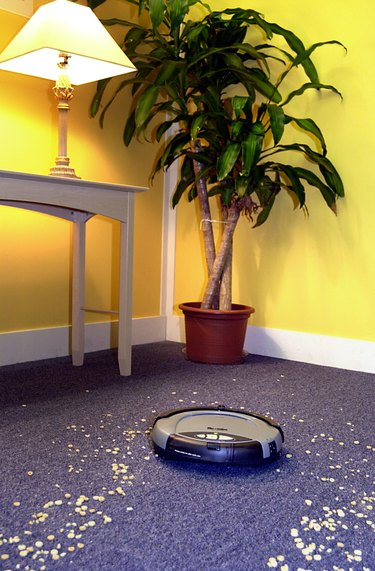
The rechargeable battery in an iRobot Roomba robotic vacuum cleaner can last through hundreds of uses before being replaced, but only if it is properly reconditioned occasionally. As Roomba and other rechargeable batteries discharge during use, the material inside them starts to crystallize, reducing the amount of useful chemical available to the battery. This process is known as sulfation. The reconditioning process reverses this crystallization process so the battery can continue to hold a full charge. Knowing this, iRobot builds in an automatic conditioning charge cycle into its product. This happens automatically when the robot returns to its charger, although a manual conditioning every few months is a good idea.
Step 1: Allow Time for Automatic Reconditioning
Allow the Roomba to return to its charger after every use, except when manually reconditioning the battery. It will automatically initiate a 16-hour charge cycle when necessary. The Roomba's power light will blink yellow during this charging process. Do not use the vacuum until the light turns green again.
Video of the Day
Step 2: Perform Manual Reconditioning
Perform a manual reconditioning every few months. Remove the battery and hold down the power button on the Roomba for five to 15 seconds. This resets the Roomba. If your Roomba only has one button, hold it down.
Step 3: Reinstall the Battery and Charge
Reinstall the battery and charge it until the power light turns green. Run the Roomba until the battery fully discharges. The Roomba will play a four-tone dead battery "song." This may take several clean cycles. Do not dock the Roomba between cycles.
Step 4: Recharge the Battery
Fully recharge the battery as soon as possible after Step 3. The battery is now reconditioned and ready for more use.
Video of the Day