While a store-bought car air freshener quickly loses its fragrance and is typically thrown away after a couple of weeks, a homemade version can be reused for years. Easily customize it according to size, shape and color, and tailor it for either masculine or feminine scents.
Watch the Video Tutorial
Things You'll Need
Car air freshener template (optional)
Felt, 20-30% wool-polyester blend, at least 6 inches wide
Pen
Scissors
Embroidery thread
Embroidery needle
Essential oil(s)
Elastic cord, 2 mm
Awl (optional)
Clear cellophane bags, 4 inches wide by 6 inches tall (optional)
Clear tape (optional)
Step 1:
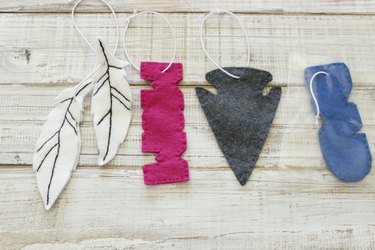
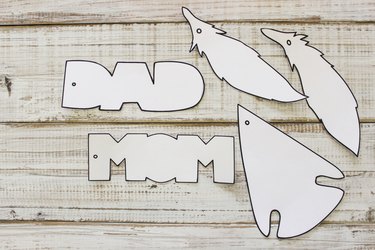
Various templates for the car air freshener designs are available in printable format, each approximately 5 inches in length. Click to download these templates for free or draw your own:
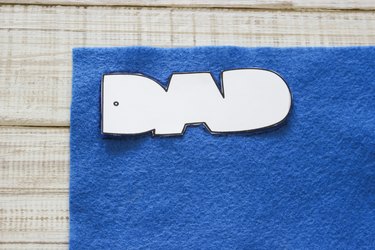
Step 2:
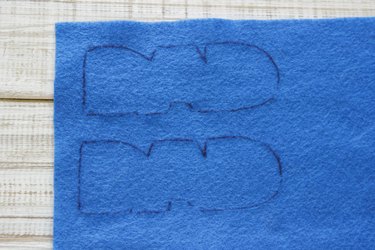
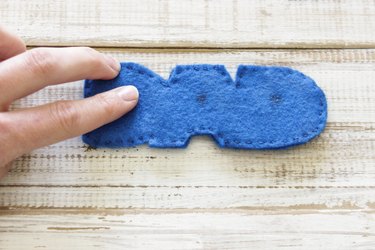
Trace the desired design of the car air freshener onto the felt using a pen.
Step 3:
Trace the same design twice, for added thickness and durability of the car air freshener.
Video of the Day
Step 4:
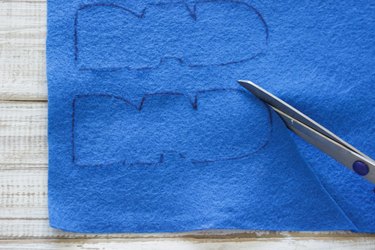
Cut out both pieces.
Step 5:
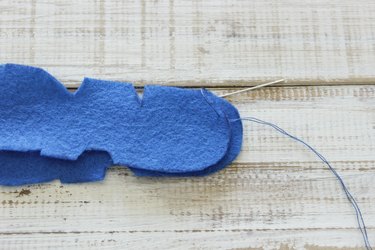
Thread an embroidery needle with two strands of embroidery thread, make a knot at the end, and stitch the two pieces of felt together using a straight stitch (up and down) around the perimeter.
Tip
Start on the inside of one of the pieces of felt, so the starting knot is hidden when sewing is complete.
Step 6:
Once the entire perimeter is sewn together, tie an end-knot in between the pieces of felt and tuck it in using the needle so the end-knot is not visible.

Step 7:
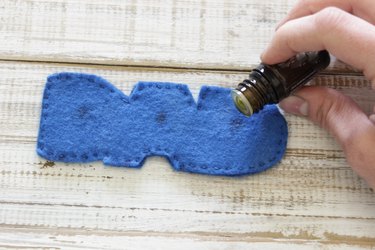
Select the desired essential oil(s) and place two drops every 1 1/2 inches along the length of the felt shape. Repeat on the opposite side. Here are a few suggestions for essential oil combinations:
Masculine Preference:
- Lemongrass and orange essential oils used together (clean, citrus scent with mild woodsy undertones)
- Orange and clove essential oils used together (sweet orange, subtle spicy scent)
- Sandalwood essential oil (mild woodsy scent)
Feminine Preference:
- Lavender essential oil (soft floral scent)
- Lavender and eucalyptus essential oil used together (floral scent with a hint of fresh minty scent)
- Orange essential oil (clean, sweet orange scent)
Tip
Essential oils have aromatherapy characteristics, which have been known to improve mood and disposition of some people. Lemongrass essential oil is believed to have an uplifting effect on mind and mood. Orange essential oil is believed to alleviate nausea. Clove essential oil is believed to improve memory and alleviate mental exhaustion. Sandalwood essential oil is believed to aid in feelings of inner peace. Lavender essential oil is believed to calm the mind and promote kindness. Eucalyptus essential oil is believed to promote clear airways and increased energy.
Step 8:
To ensure the essential oil drops are not visible, massage the oil into the felt until the dark spots disappear.
Tip
Using high quality wool-polyester blend felt will ensure the essential oils absorb into the felt and won't drip down when hung.
Step 9:
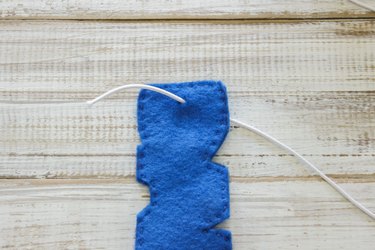
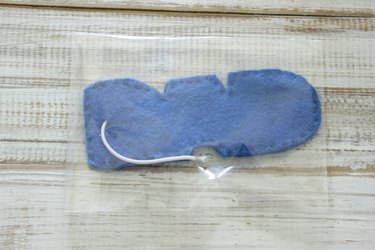
Create a small hole in one side of the felt shape using a scissor point or an awl, and string through 6 to 8 inches of elastic cording.
Step 10:
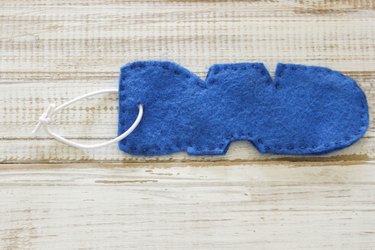
Tie the ends of the cord together using a square knot and pull tight.
Step 11:
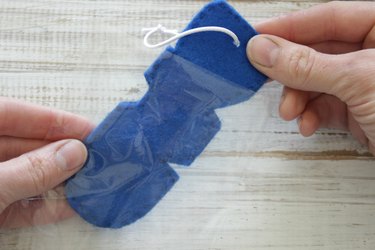
Insert the finished car air freshener into a cellophane party bag, fold over one end, and tape it closed.
Tip
The cellophane bag can be removed completely when placed in the car, or it can be pulled down part-way with one side taped, to control the strength and longevity of the scent.
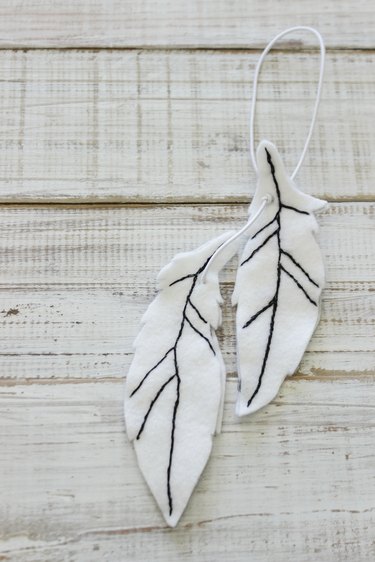
Step 12: (Optional)
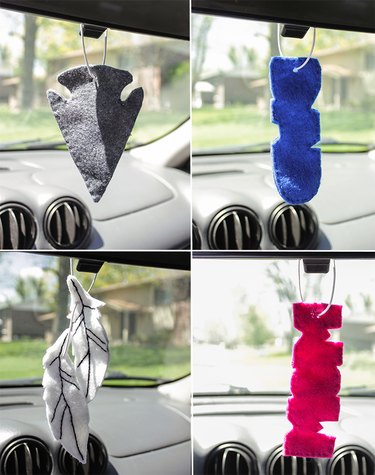
Further artistic customizations can be created with contrasting thread and designs sewed into the shapes, as shown here with the feather car air freshener.
This craft is simple yet thoughtful and long-lasting, which makes it a perfect gift for the car-driver in your life.