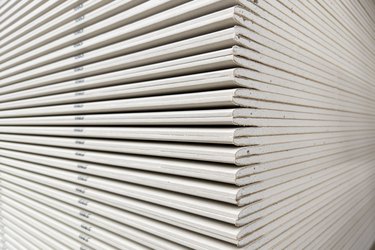
Removing tile adhesive from drywall is not an impossible process. The use of the right tools and materials, combined with some elbow grease, will remove most tile adhesives from drywall. However, it is unlikely that removing the adhesive will leave the drywall looking like new. Because of this, it is important to have supplies on hand that will help you repair the drywall once the tile adhesive is removed from the surface of the wall.
Things You'll Need
Rubber gloves
Scrubbing pads
Safety glasses
Stiff bristle brush
Old towels
Work rags
Dish soap
Bucket
Putty knife
Sanding sponge
Paint stirrer
Video of the Day
How to Remove Tile Adhesive From Drywall
Step 1: Remove the Adhesive
To remove tile adhesive from drywall, heat the surface of the adhesive with the heat gun. Work in square sections about two feet wide to prevent the adhesive from hardening as you work. Heat the area for about 10 minutes.
Video of the Day
Step 2: Scrape the Wall
Scrape the surface of the adhesive with a stiff-bristle brush. If any adhesive gets stuck to the brush, remove it by hand and continue until no more adhesive remains on the wall. Wipe some tile adhesive remover over the surface of the wall. Allow it to sit for about 10 minutes. Scrub the adhesive away with the scrubbing pads.
Step 3: Clean the Wall
Mix a solution of warm water with 5 drops of dish soap mixed in. Wipe the surface of the wall down with an old rag dipped into the soapy solution. Rinse the wall with clear water. Allow the wall to dry for 24 hours. To finish, sand the entire surface of the wall with a sanding sponge.
Step 4: Prepare the Drywall
After removing the adhesive, you may need to repair the drywall in places. Note any scratches or dents in the drywall surface and sand these areas once more with the sanding sponge until the wall is smooth. Mix the drywall compound thoroughly until no lumps remain.
Step 5: Repair Holes
Apply drywall compound to the dents and scratches that are smaller than marble-sized. Fill the holes a little fuller than the actual size of the hole. Smooth the putty outside of the holes about ½ inch on each side. Allow it to dry for 24 hours. Continue to fill the remainder of the scratches and holes as you wait.
Step 6: Repair Large Holes
Fill holes larger than the size of a marble with the setting-type drywall compound. Fill the holes in the same manner as the smaller holes. Allow it to dry for 24 hours. Sand over the patched holes with the sanding sponge until the surface of the wall is completely smooth, or until you cannot tell that the repairs were made.