Things You'll Need
Vacuum
Belt sandpaper
Belt sander
Electrical outlet
Extension cord
Dust mask
Eye protection
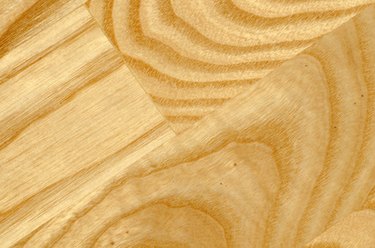
Refinishing wood floors is quite a chore and can take many days. You can save a lot of money doing it yourself and it is accomplished best by using the correct tools. A belt sander will make stripping and sanding the floor quick and easy. Belt sanders have a loop of rotating sandpaper that gives quick results. A belt sander for finishing a wood floor should be a hand-held one so you can move the tool around on the surface of the floor. Belt sanders will do a good job of leveling out the floor and preparing it for a finer sand.
Step 1
Prepare the floor by vacuuming up loose debris. Little items like pebbles can get caught in the sandpaper and will keep making scratches. They will also rip up the sandpaper quickly.
Video of the Day
Step 2
Put on the eye protection and dust mask. With the unit not yet plugged into the electric, flip the release lever on the sander and load the sandpaper. It will be precut to fit into the rotating rollers. There is a feed direction arrow on the inside of the sandpaper to help you figure out in which direction to load it. Spin the rollers manually to take up slack and tighten the paper. Close the release lever to lock the machine.
Step 3
Plug in the sander and, holding it above the floor, press the on button. You should have your hands on the front and back handles. Slowly lower the unit to the floor. Keep the machine constantly moving in the direction of the wood grain. Do not let it sit in one place or you will sand a dent into the floor.
Step 4
Move the sander in back-and-forth strokes that overlap slightly. This will ensure that you get even sanding. To switch off, lift the unit from the wood floor first. Switching off causes the unit to slow down, so lift it so it does not come in contact with the wood surface while slowing. When you've completed the initial sanding on the whole floor in overlapping sections, graduate to finer sandpaper, and continue to grade the floor.
Tip
The rougher sandpaper should be used first to remove major flaws and finish. Move to higher numbers and finer grit as you go over the floor.
Video of the Day