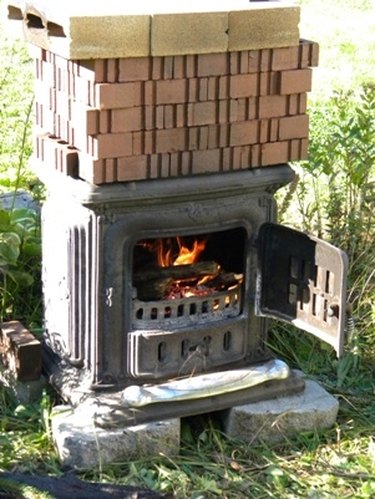
If you can locate an old wood stove and some bricks, you can build a homemade kiln. This type of kiln is easy to assemble and disassemble and can be built to any height depending on your needs.
Getting Started
Video of the Day
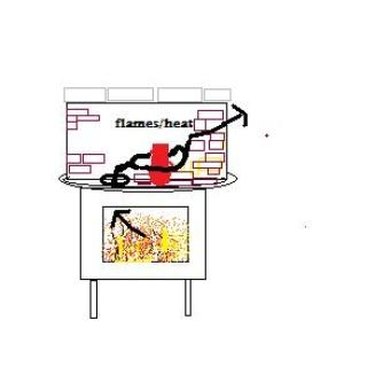
No special brick is required and regular red brick will work fine. The fire comes up through the stove, circling around the pieces of pottery and out the top of the oven/kiln. You will need to have a hole in the top of the wood stove to create this effect. The hole where the chimney would normally start will work, just cover all other holes. A brick left out at the top side of the oven/kiln will act as a vent creating an updraft (see Diagram 1). Half-sized cinder-blocks can be used for the roof of the kiln.
Video of the Day
Constructing the Kiln
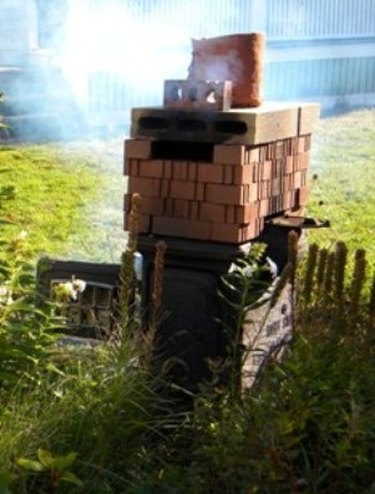
Making a brick box around the top of the stove creates an oven/kiln. Staggering the bricks works best and letting them free stand allows them to expand and contract at their own rate. Although it is not necessary in the construction of your kiln, Corvusmoon.com uses a 'ceramic fiber blanket' in the construction of their homemade kilns. The blanket helps to maintain heat. Recommended brand names of fiber blankets include, Fiberfrax®, Kaowool® and Isofrax®; all can be purchased online. Corvusmoon.com recommends trying Ebay first.
Firing Up the Kiln
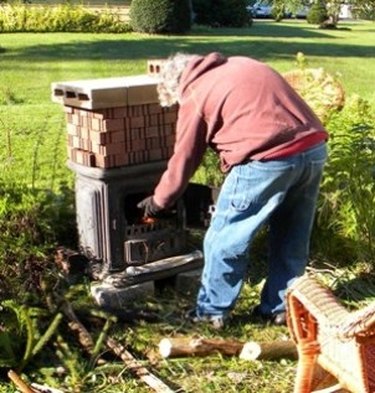
Firing up the kiln should be done slowly. Be prepared because this is an all-day and sometimes all-night process. You should start by making a very small fire from kindling. If you heat the kiln too fast the pottery will crack or, worse yet, explode. Moisture has to be burned out of the clay little by little. Spend at least a couple of hours feeding a small fire and then gradually increase the heat, adding very dry seasoned wood after a few hours.
Once you have built the fire up to a very hot burning fire, you should see the top of the wood stove as well as the firing chamber glowing red inside . Continue to let it burn at this rate for at least five or six more hours. The entire process of firing should take at least 10 to 12 hours. Only low firing clay like terra cotta can be used with this type of kiln, especially since you will not know the exact temperatures your kiln is reaching.
The Final Product
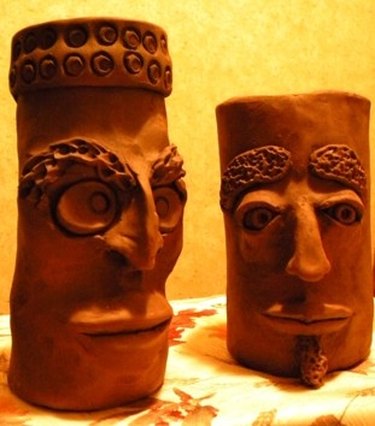
The opening of your homemade kiln will be an adventure. It is exciting to see what artistic effect the heat has had on the pieces inside. Wait at least another 12 hours before opening it. Opening it too fast will a cause your pottery to crack, so just walk away and try to resist peaking too soon. Most pieces will have a black coating on them from the smoke and heat. Burnishing this into the pieces will make them very unique.